Download Mu
Inventory
Use the table below to conduct an inventory of all your lab kit components.
| Quantity | Description | Image |
|---|---|---|
| 1 | Circuit Playground Bluefruit |
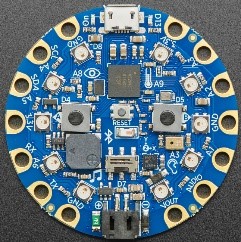
|
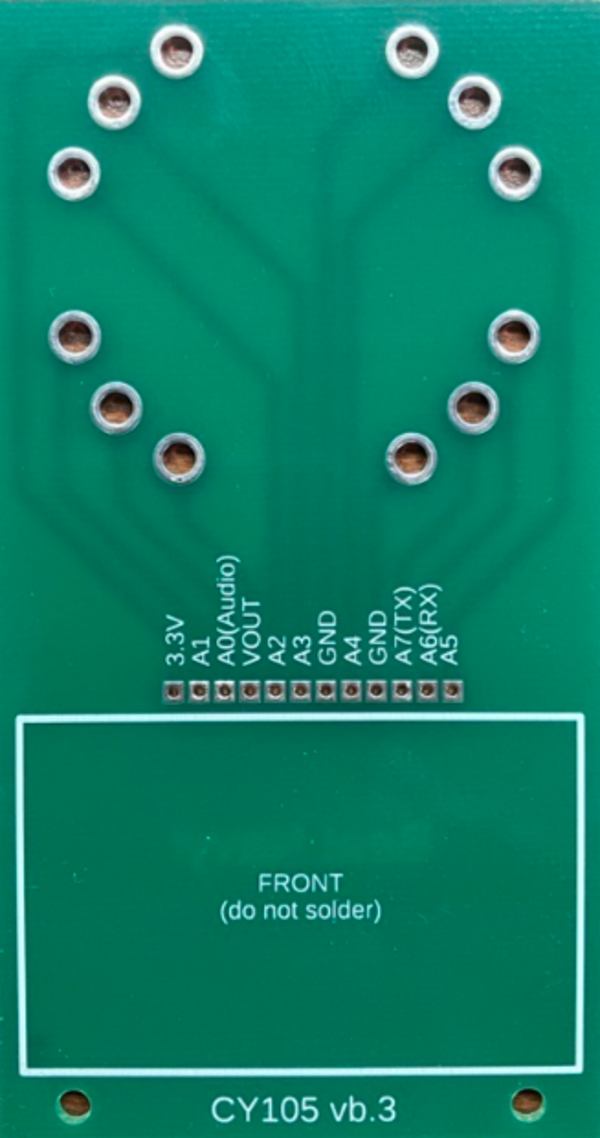
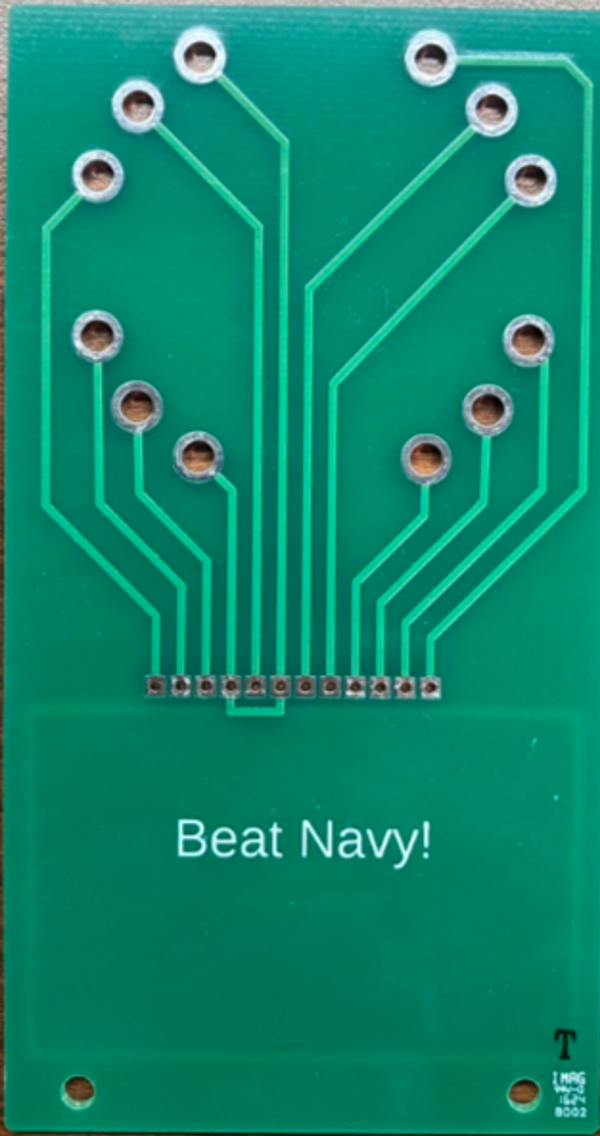
| 1 | AI105 development kit Printed Circuit Board (PCB) |
Front:
Back:
|
| 1 |
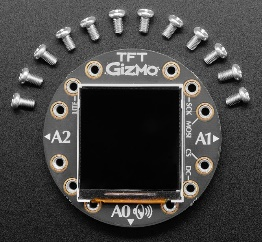
Circuit Playground TFT Gizmo Display with 12 screws Note: Inside your white box, find the bag that includes screws - use these screws. If your TFT Gizmo Display comes inside red bubble wrap, you may have a small bag of screws in that red bubble wrap. Do not use these 12 screws - see picture below. 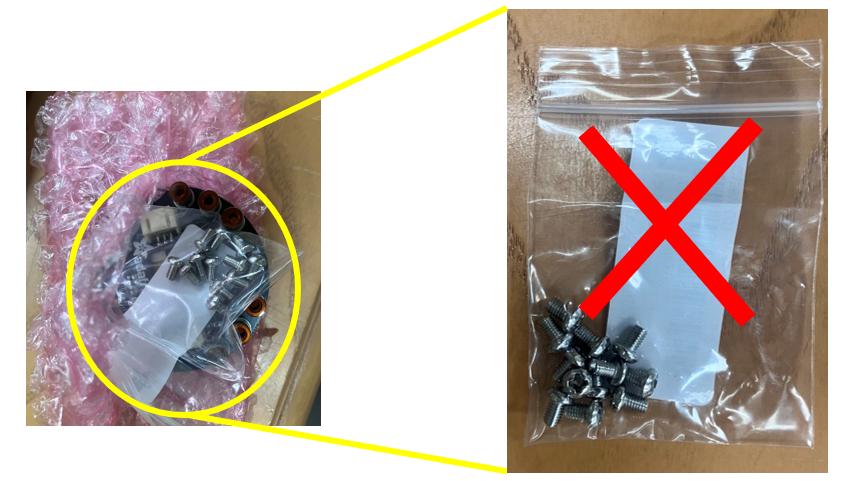
|
|
| 1 |
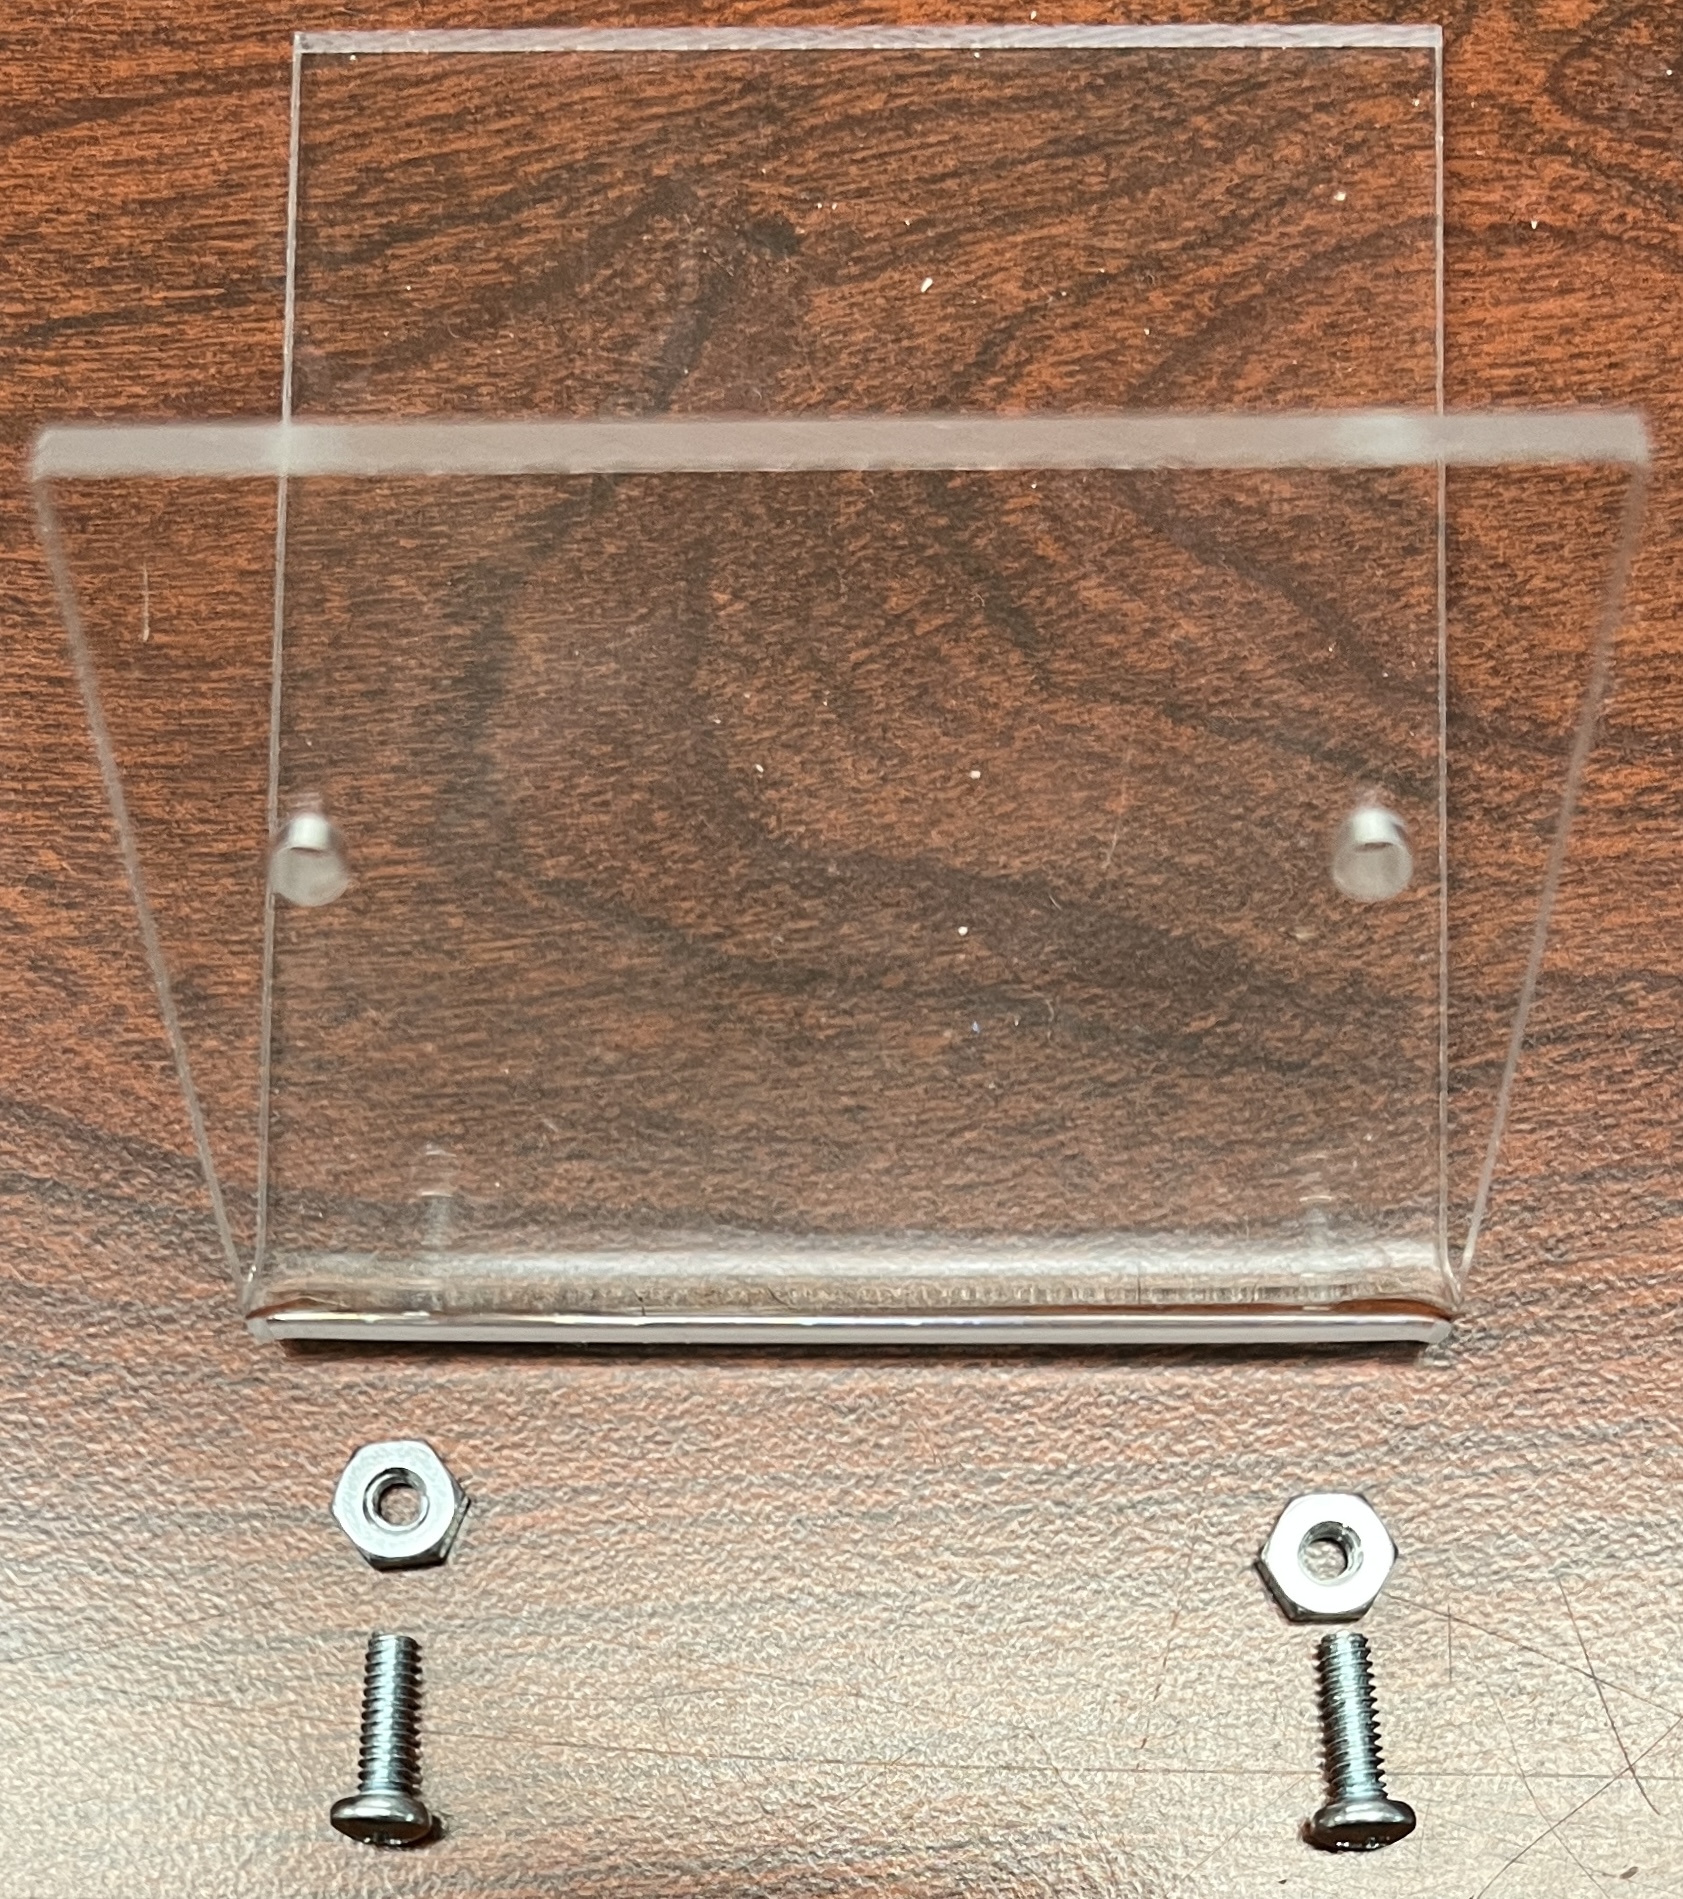
Acrylic stand and mounting hardware (2 screws and 2 nuts) Note: You will need to remove the clear film on the acrylic stand. SCREWS: Inside your white box, find the bag that includes screws - use these screws. You should not have to force the nuts onto the screws - they should be easily hand-tightened. 
|
|
| 1 | 12 pin female header |

|
| 1 |
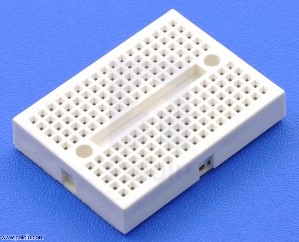
Breadboard
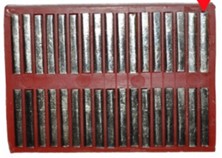
Note: You may throw away the small metal plate that's in the plastic bag with the Breadboard. |
|
| 4 |
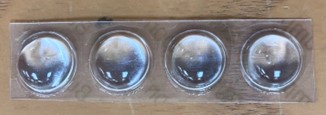
Rubber feet (for bottom of acrylic stand) Note: You will need to peel off each rubber 'foot' and stick on the bottom of the acrylic stand. |
|
| 1 |
USB A to USB Micro Cable |

|
| 1 |
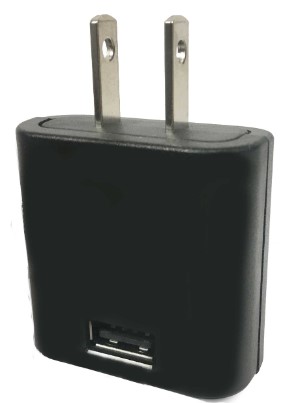
Power Supply Note: You can use this to plug in your Bluefruit to an outlet, rather than your computer. It will then execute whatever code was last saved on the Bluefruit. |
|
| 3 |
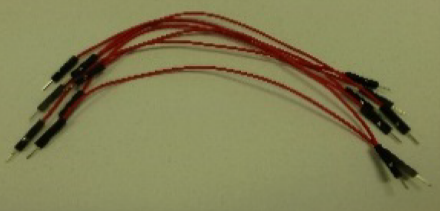
Jumper Wires Note: You will have 4 wires in your kit, but you only need 3 to complete the lab. |
|
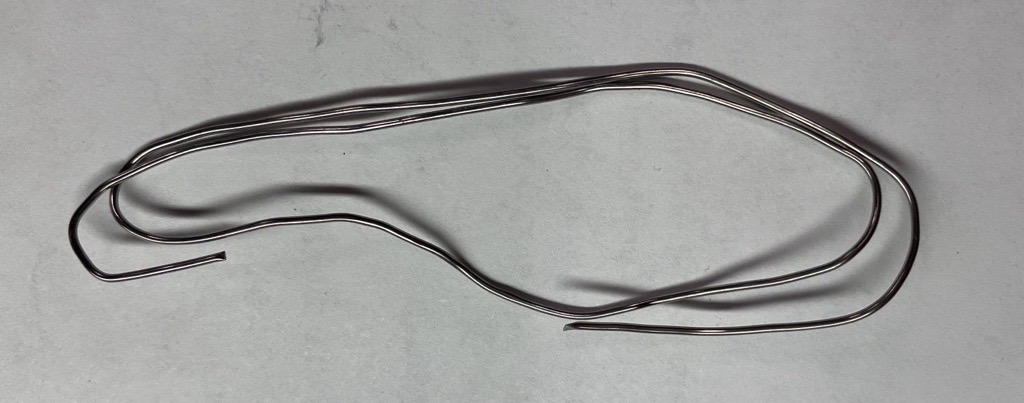
| 1 | Solder |
|
| 1 |
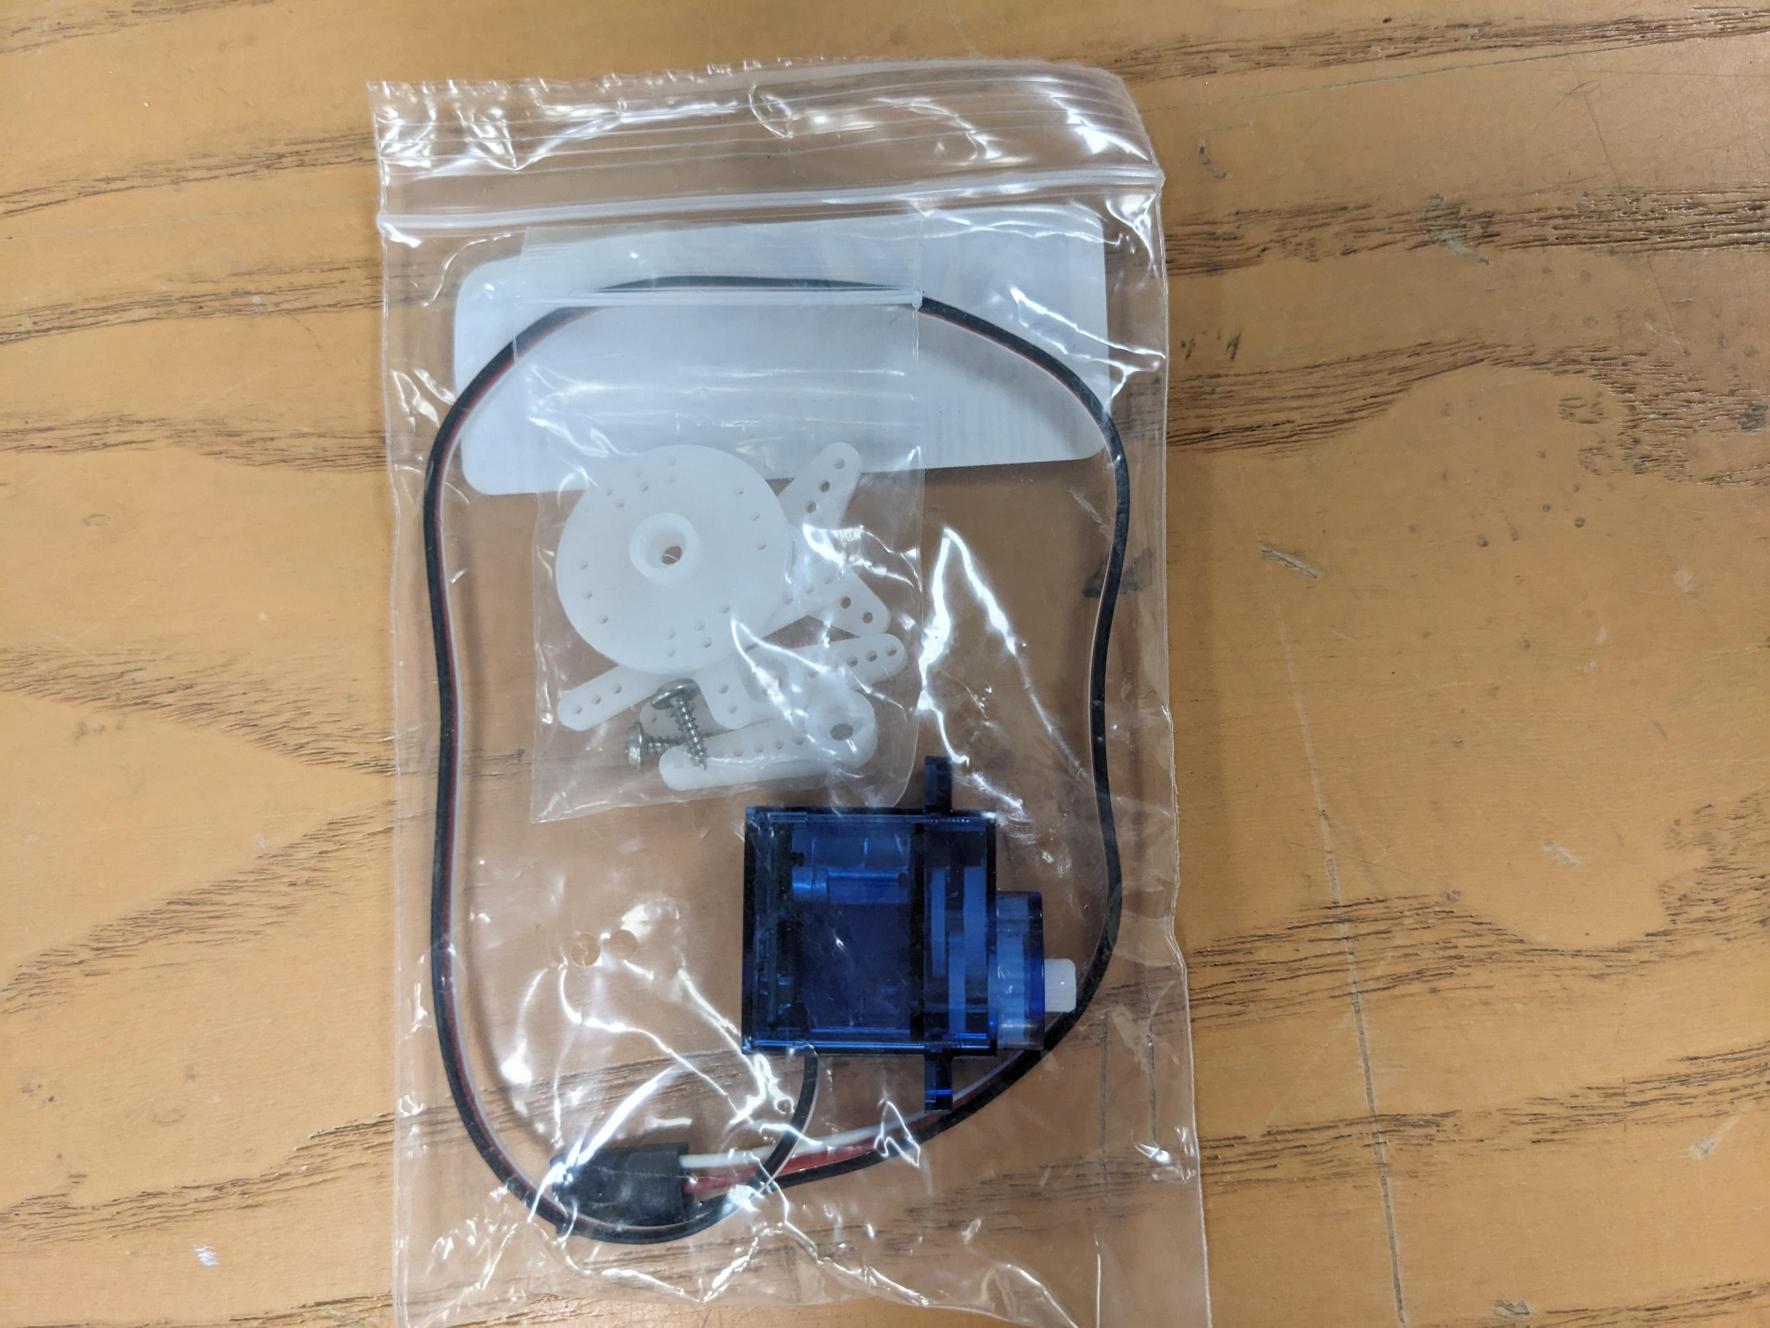
Servo Package (this package should contain the next two items) |
|
| 1 |
Servo (inside the Servo Package above) |
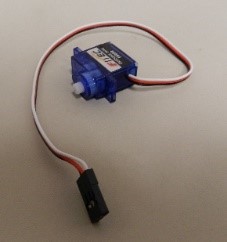
|
| 1 |
Servo Horns (inside the Servo Package above) Note: You only need one servo horn for this lab. |
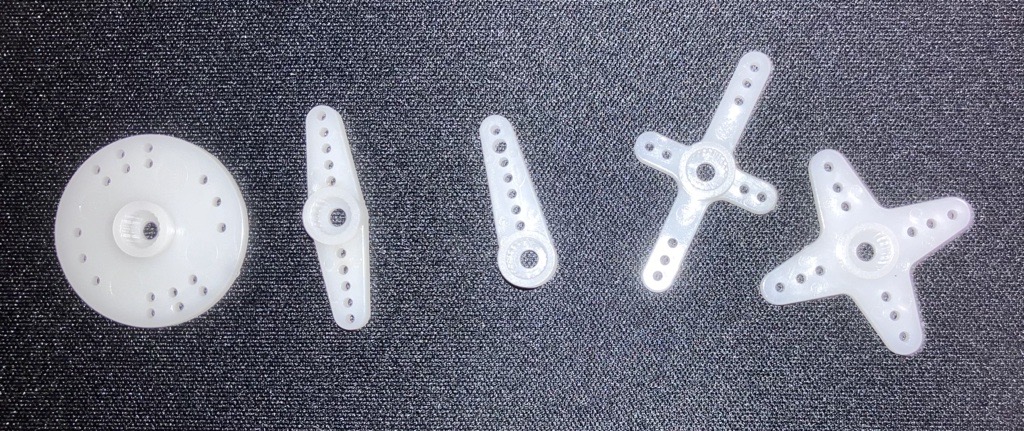
|
| 1 |
3 Pin Double-Sided Header Note: This header is very small and is in the same plastic bag as the screws. |
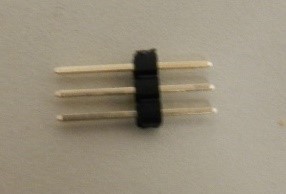
|
Assembly
-
Headers
Insert the header pins (first image below) through the small holes on the front of the PCB (middle image below). Make sure the header is flush with the surface of the PCB.
Header: Front:
 Back:
Back:
-
Solder the headers
While holding the headers in place, flip the board over and solder all the connector pins. Note: It may be helpful to put the breadboard under the PCB to help hold it in place while soldering. What is the point of soldering?
Make sure to solder on the BEAT NAVY side of the board. DO NOT solder on the front of the board! Soldering Demo

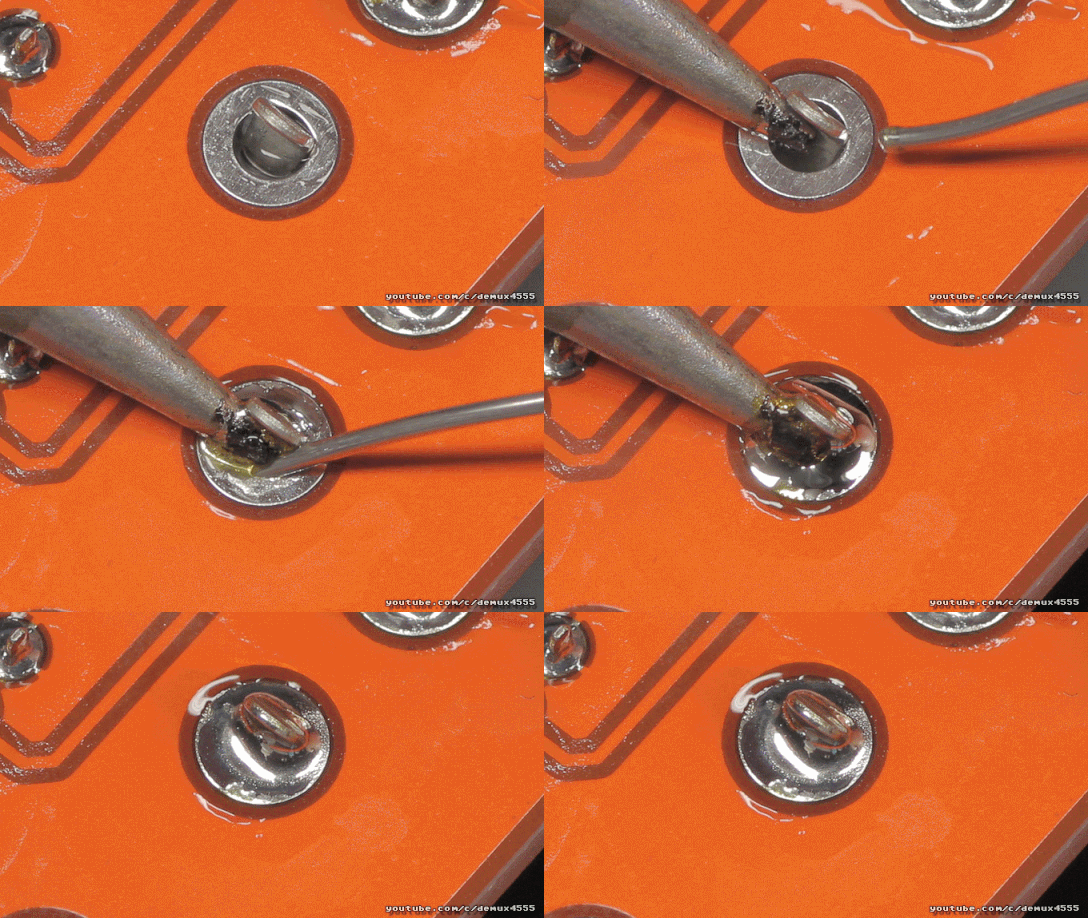

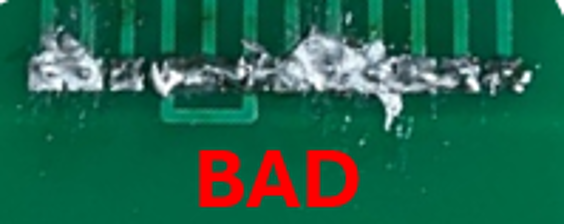
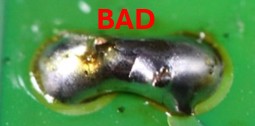
-
Ask AI to evaluate your soldering job
Take a picture of your soldering job on your phone. Be sure to crop the image so the focus is on the soldering job only. Then, ask AI to evaluate your soldering job.
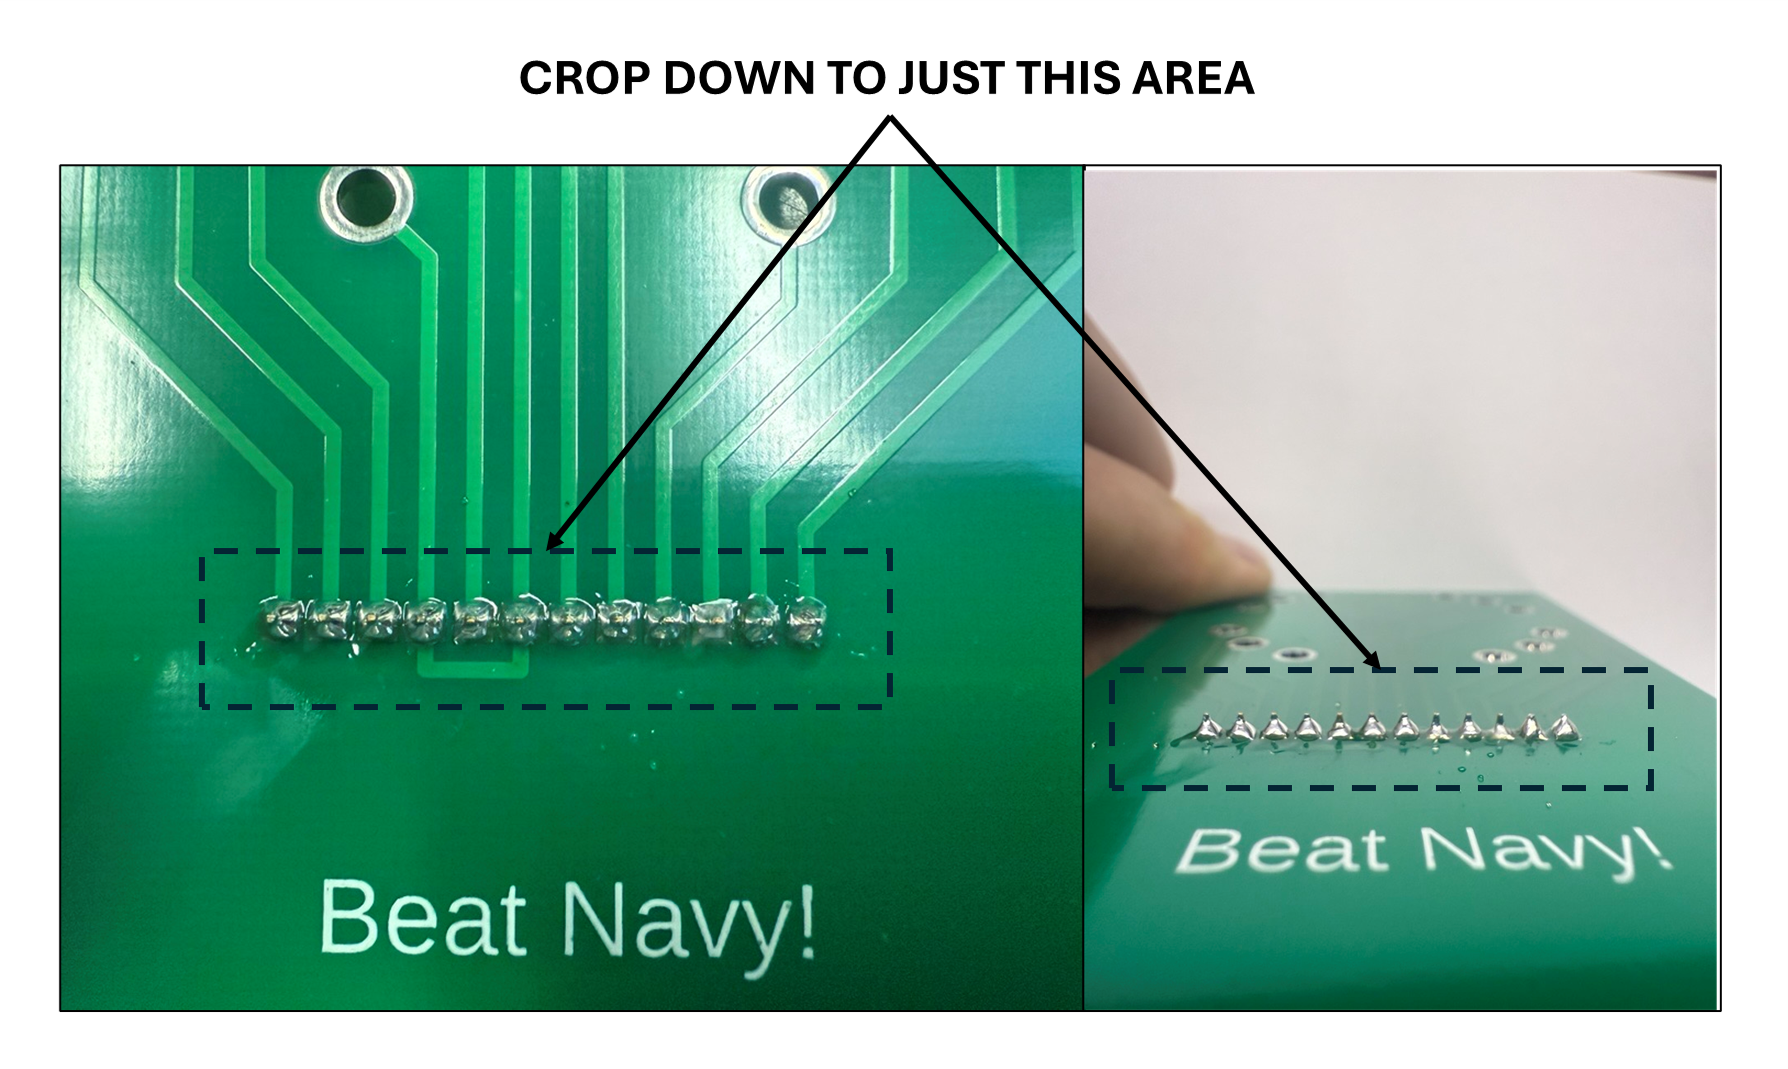
Remember: AI output is not always guaranteed to be correct! -
Attach the breadboard
Secure the breadboard from your kit. The breadboard comes packaged with a thin metal sheet--you may disgard this as well as the bag. Flip the PCB back over to the side that says “FRONT.” Peel off the cover on the back of the breadboard and attach it below the headers as shown in the image below. Attach it as close as possible to the headers to leave room for the stand's screws! What is a breadboard?
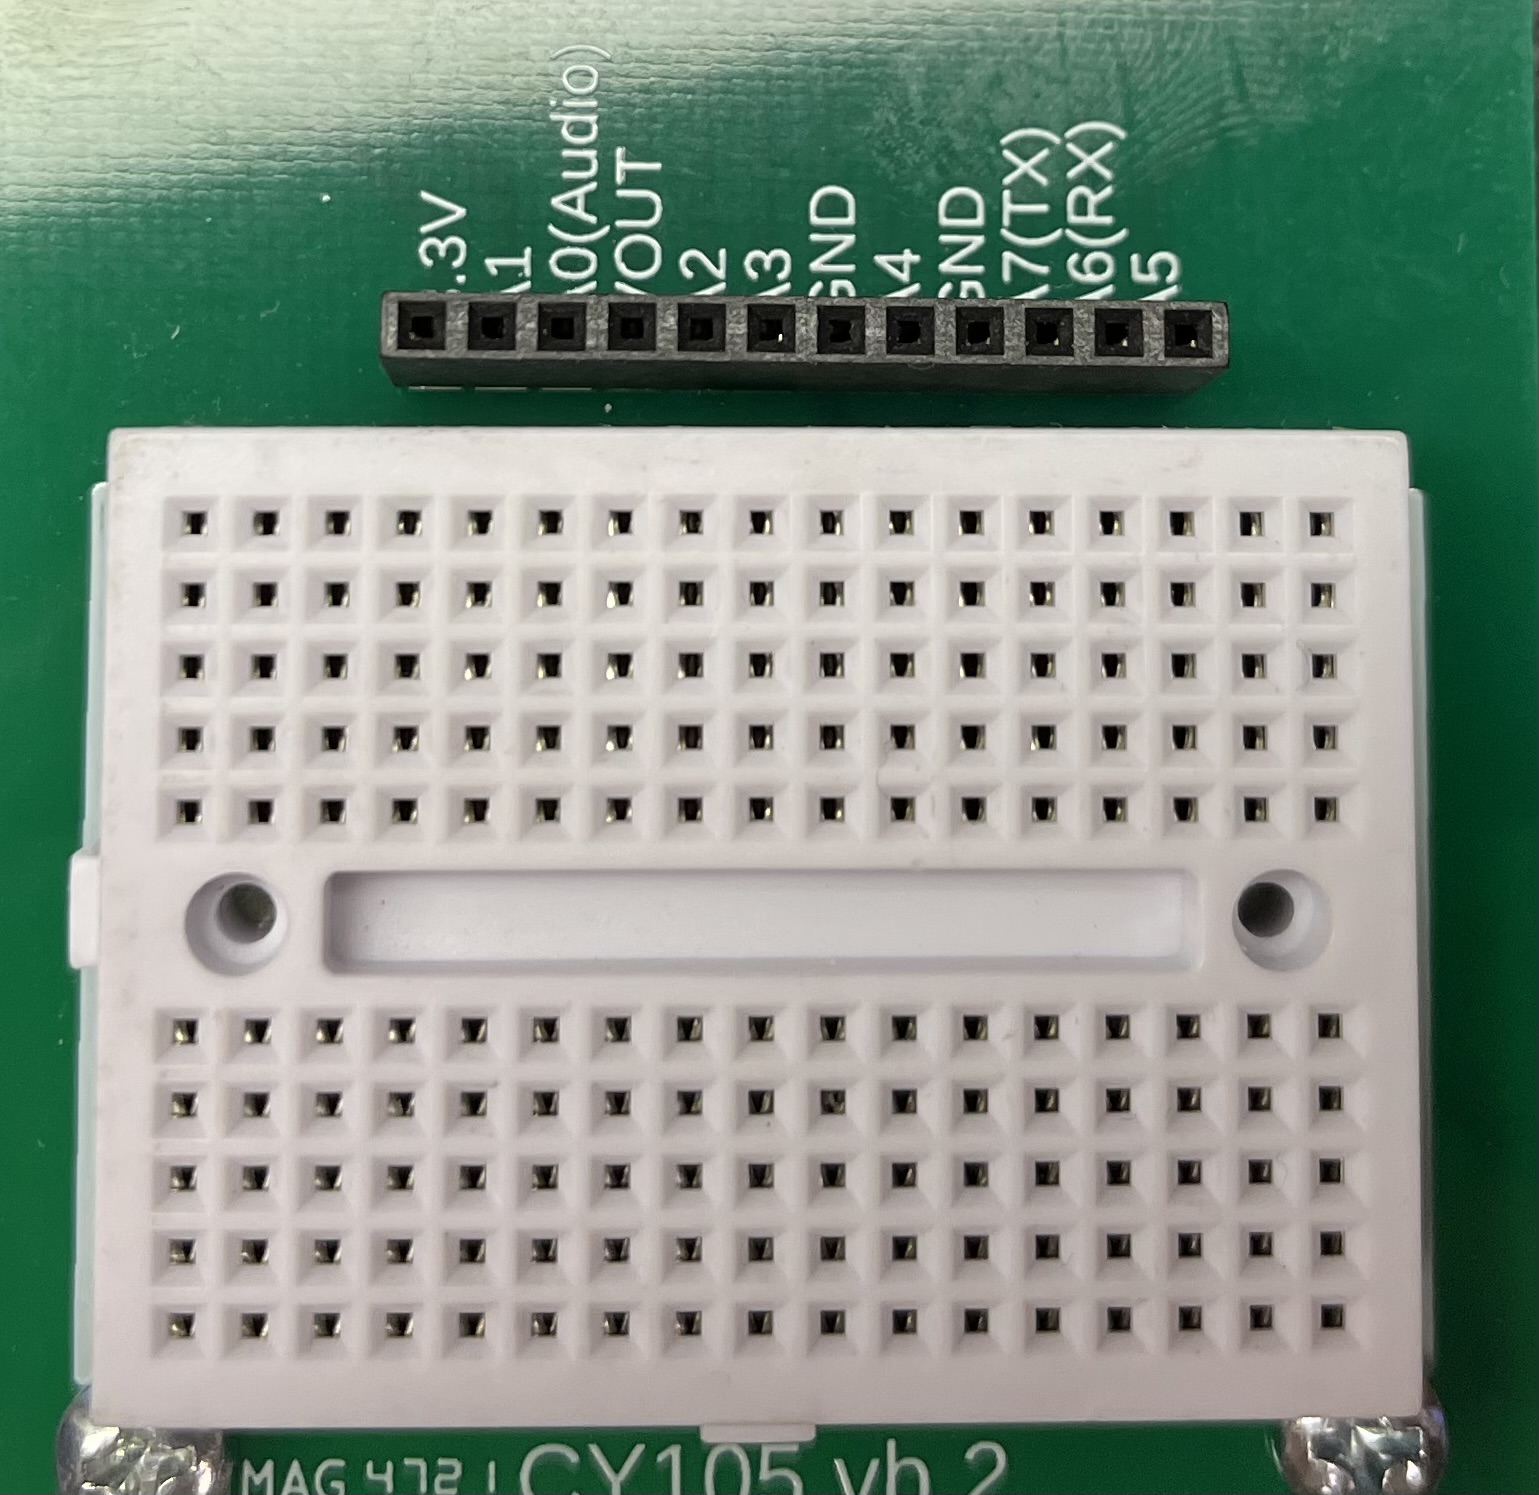
-
Bolt the Bluefruit and the display
Attach the display (TFT Gizmo) to the front (image bottom/left) and the Bluefruit to the back (image bottom/right) of the circuit board using the 12 provided screws. (Ask your instructor for a screwdriver.)
STOP! Ensure you are using the correct 12 screws (you should have already separated the 2 screws for the acrylic stand). You should not have to force the screws into the TFT Gizmo Display - they should be easily screwed in with the screwdriver.
Start each of the screws in the order highlighted below (image middle/left). Once they are all started, then tighten them down so that standoffs are flush with the front of the board (image middle/right).
Note: The TFT Gizmo label on the display and the USB connector on the Bluefruit should be aligned towards the top of the board.
You may have to remove the orange/yellow screw covers on the display's standoffs.
Be gentle when using the screws to attach the display. It is fragile!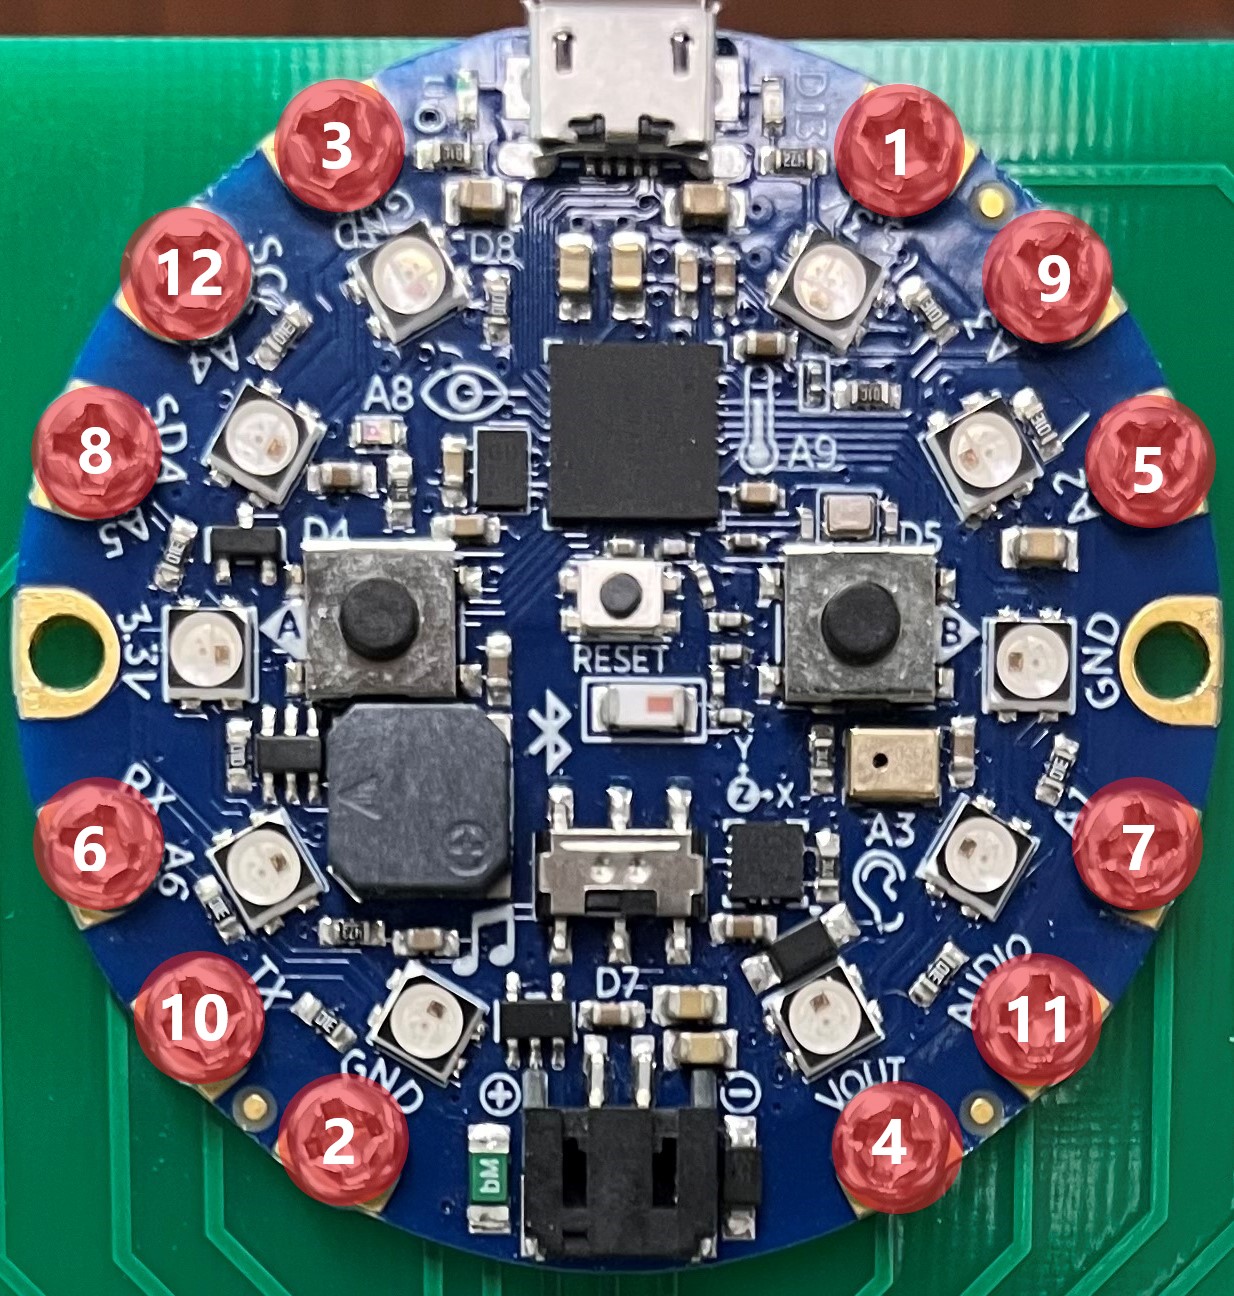
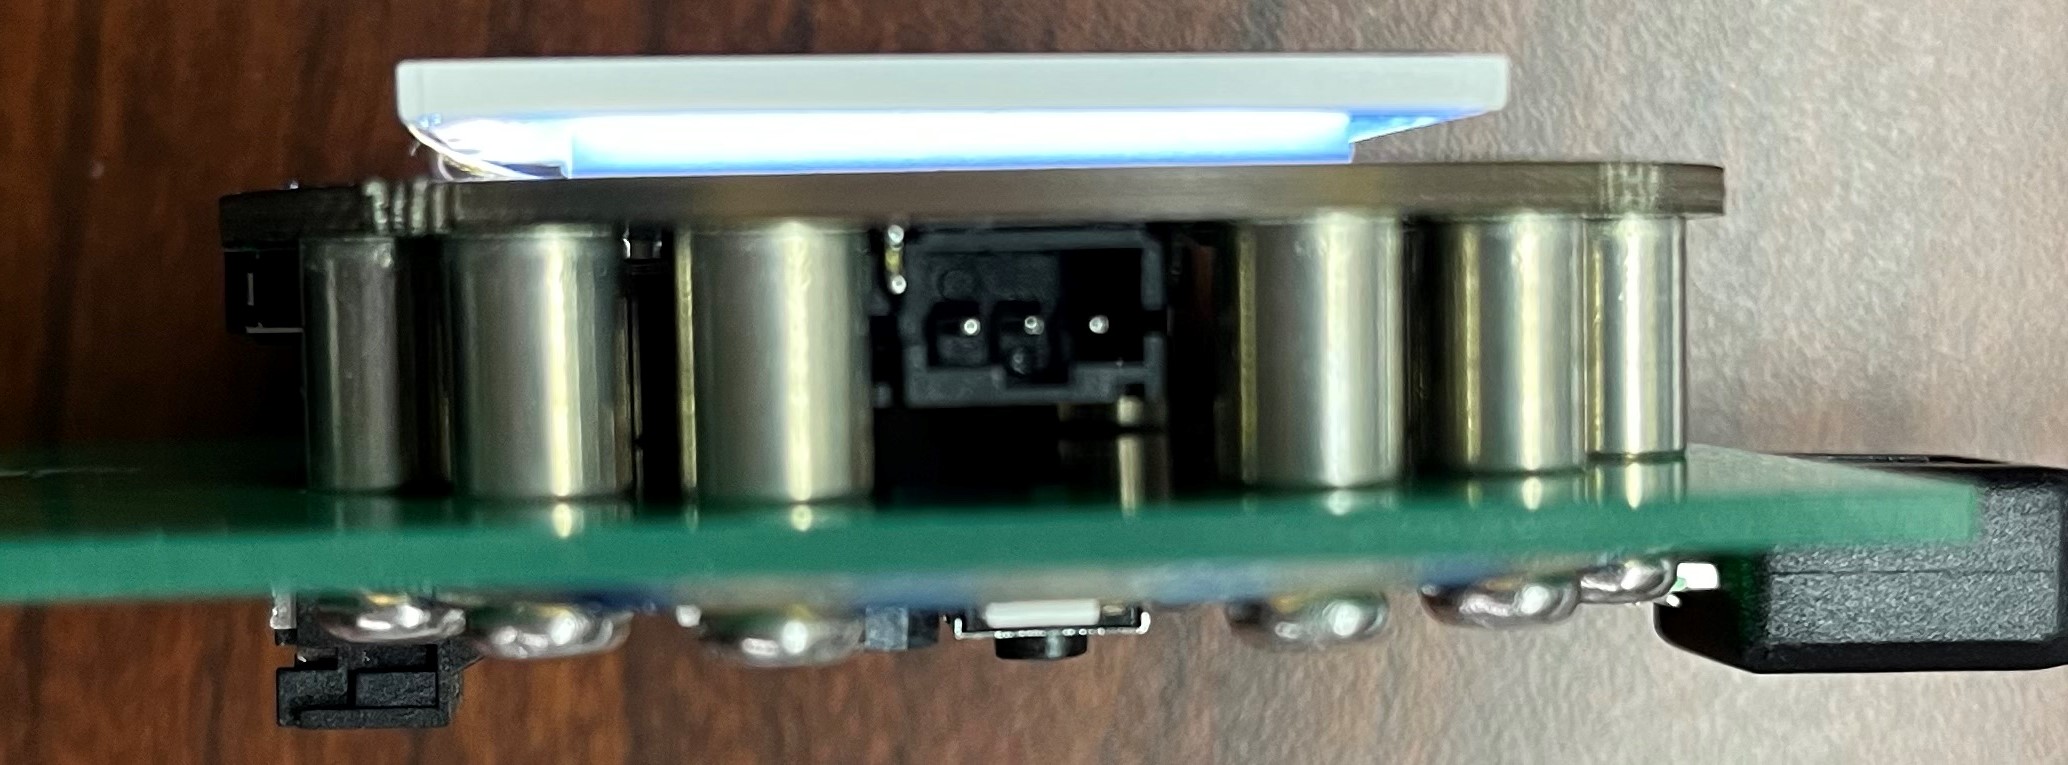
Once complete, it should look like this:
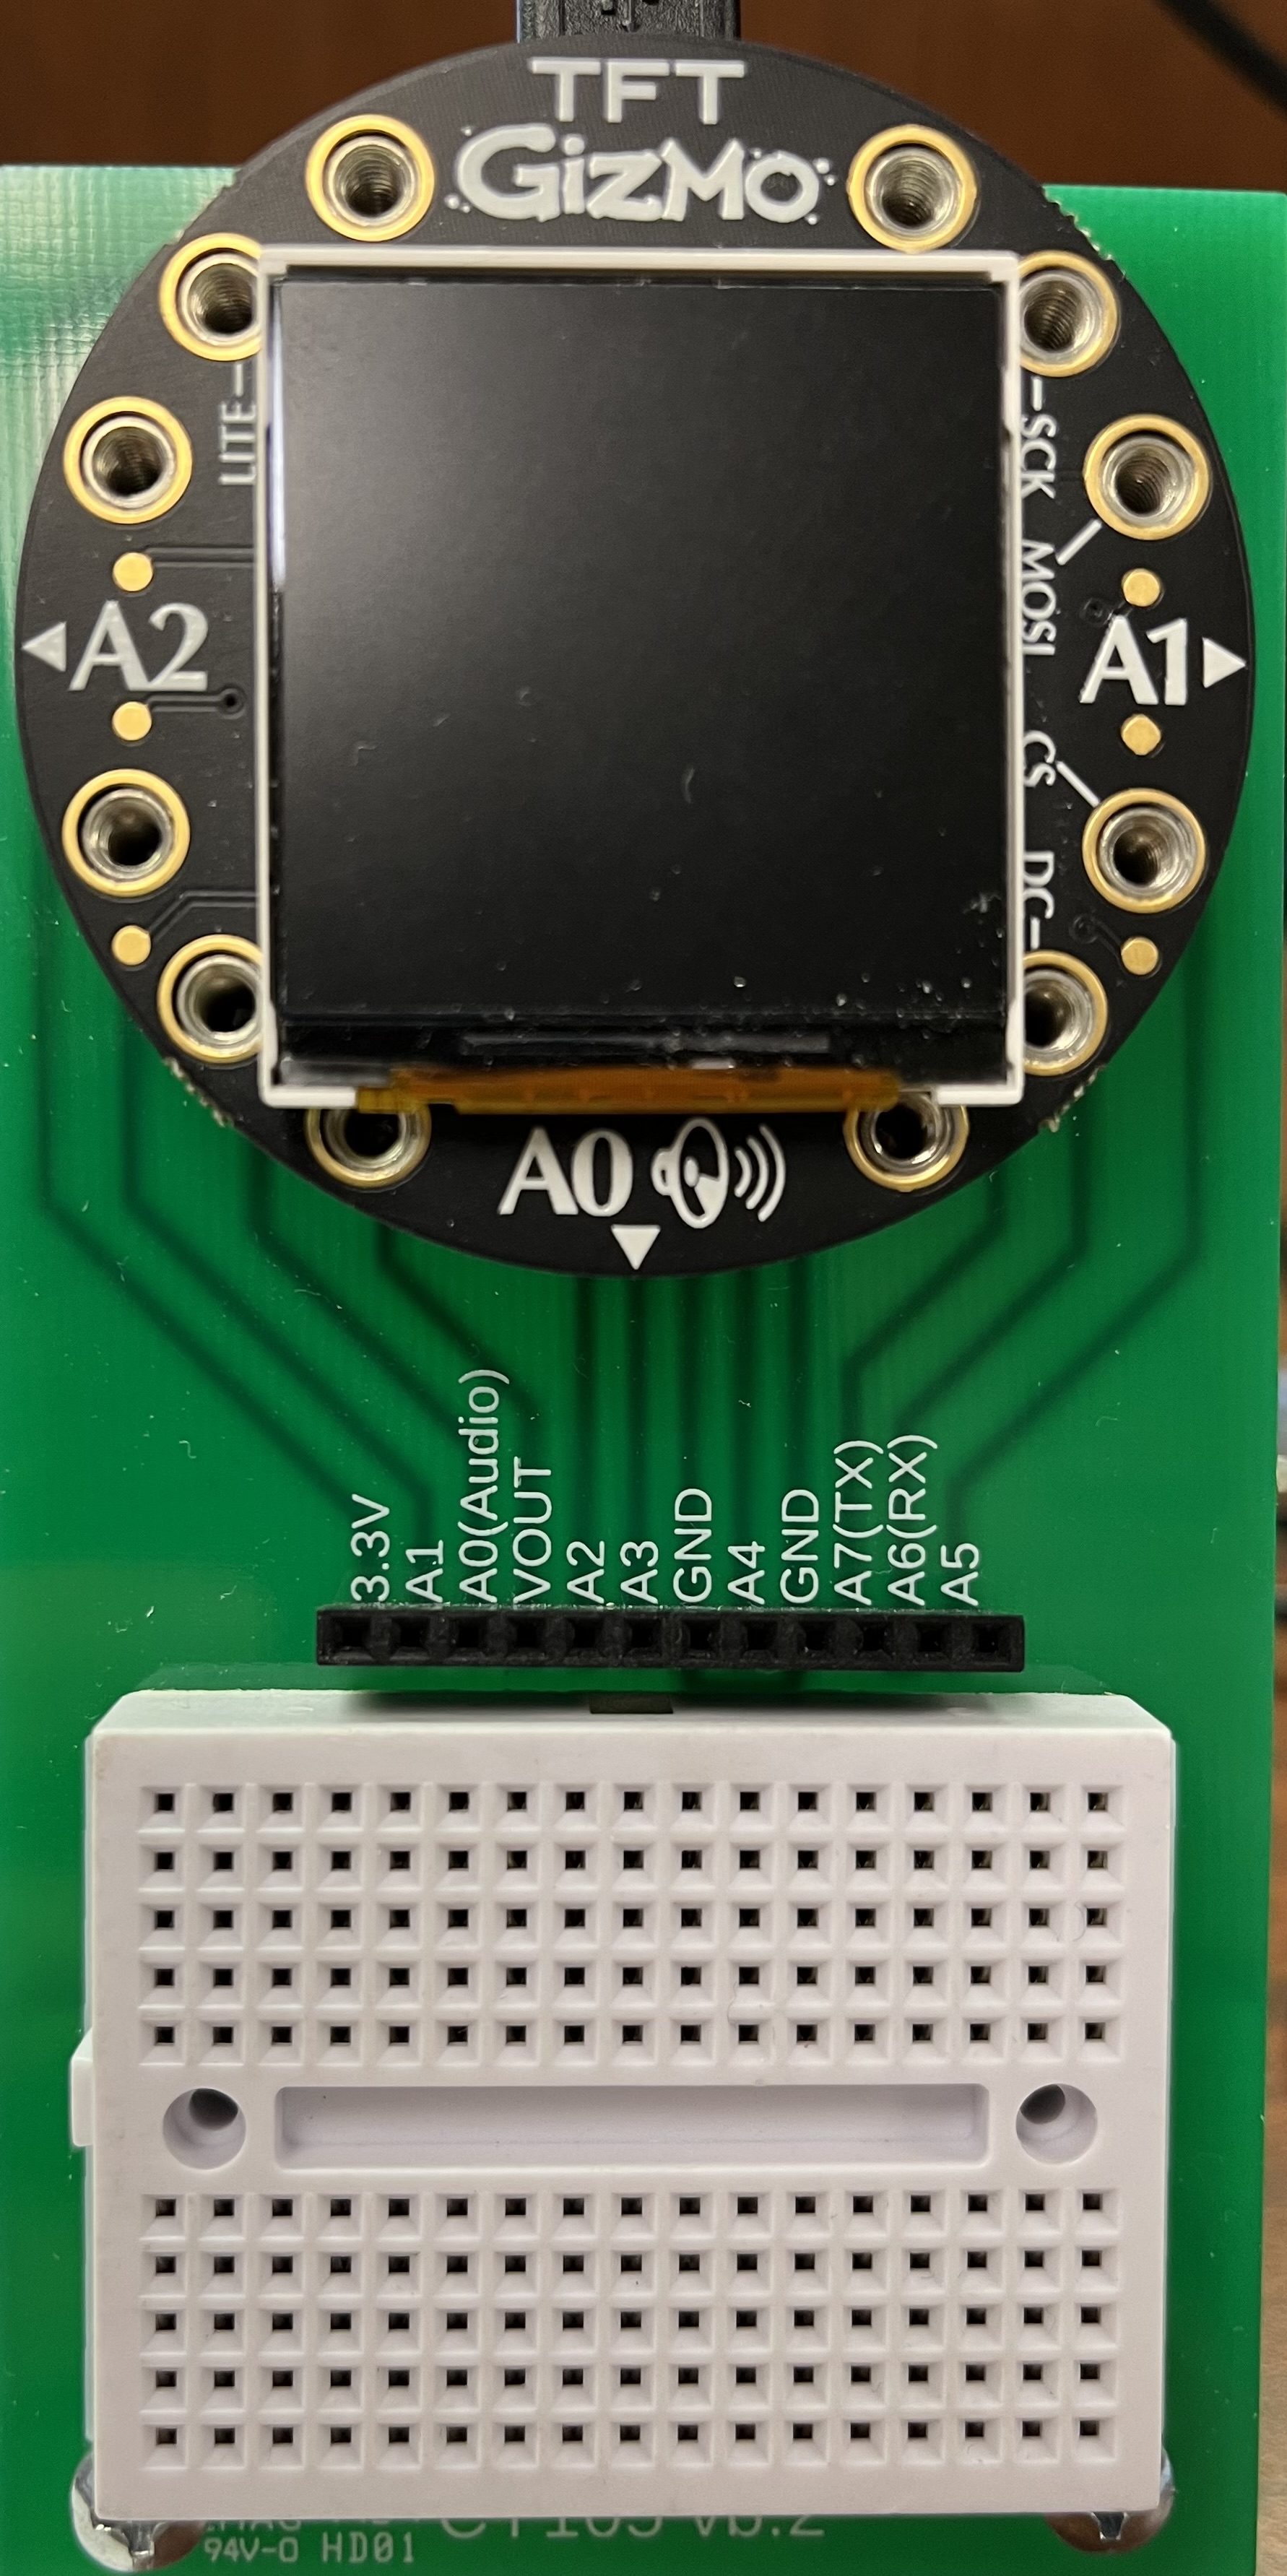
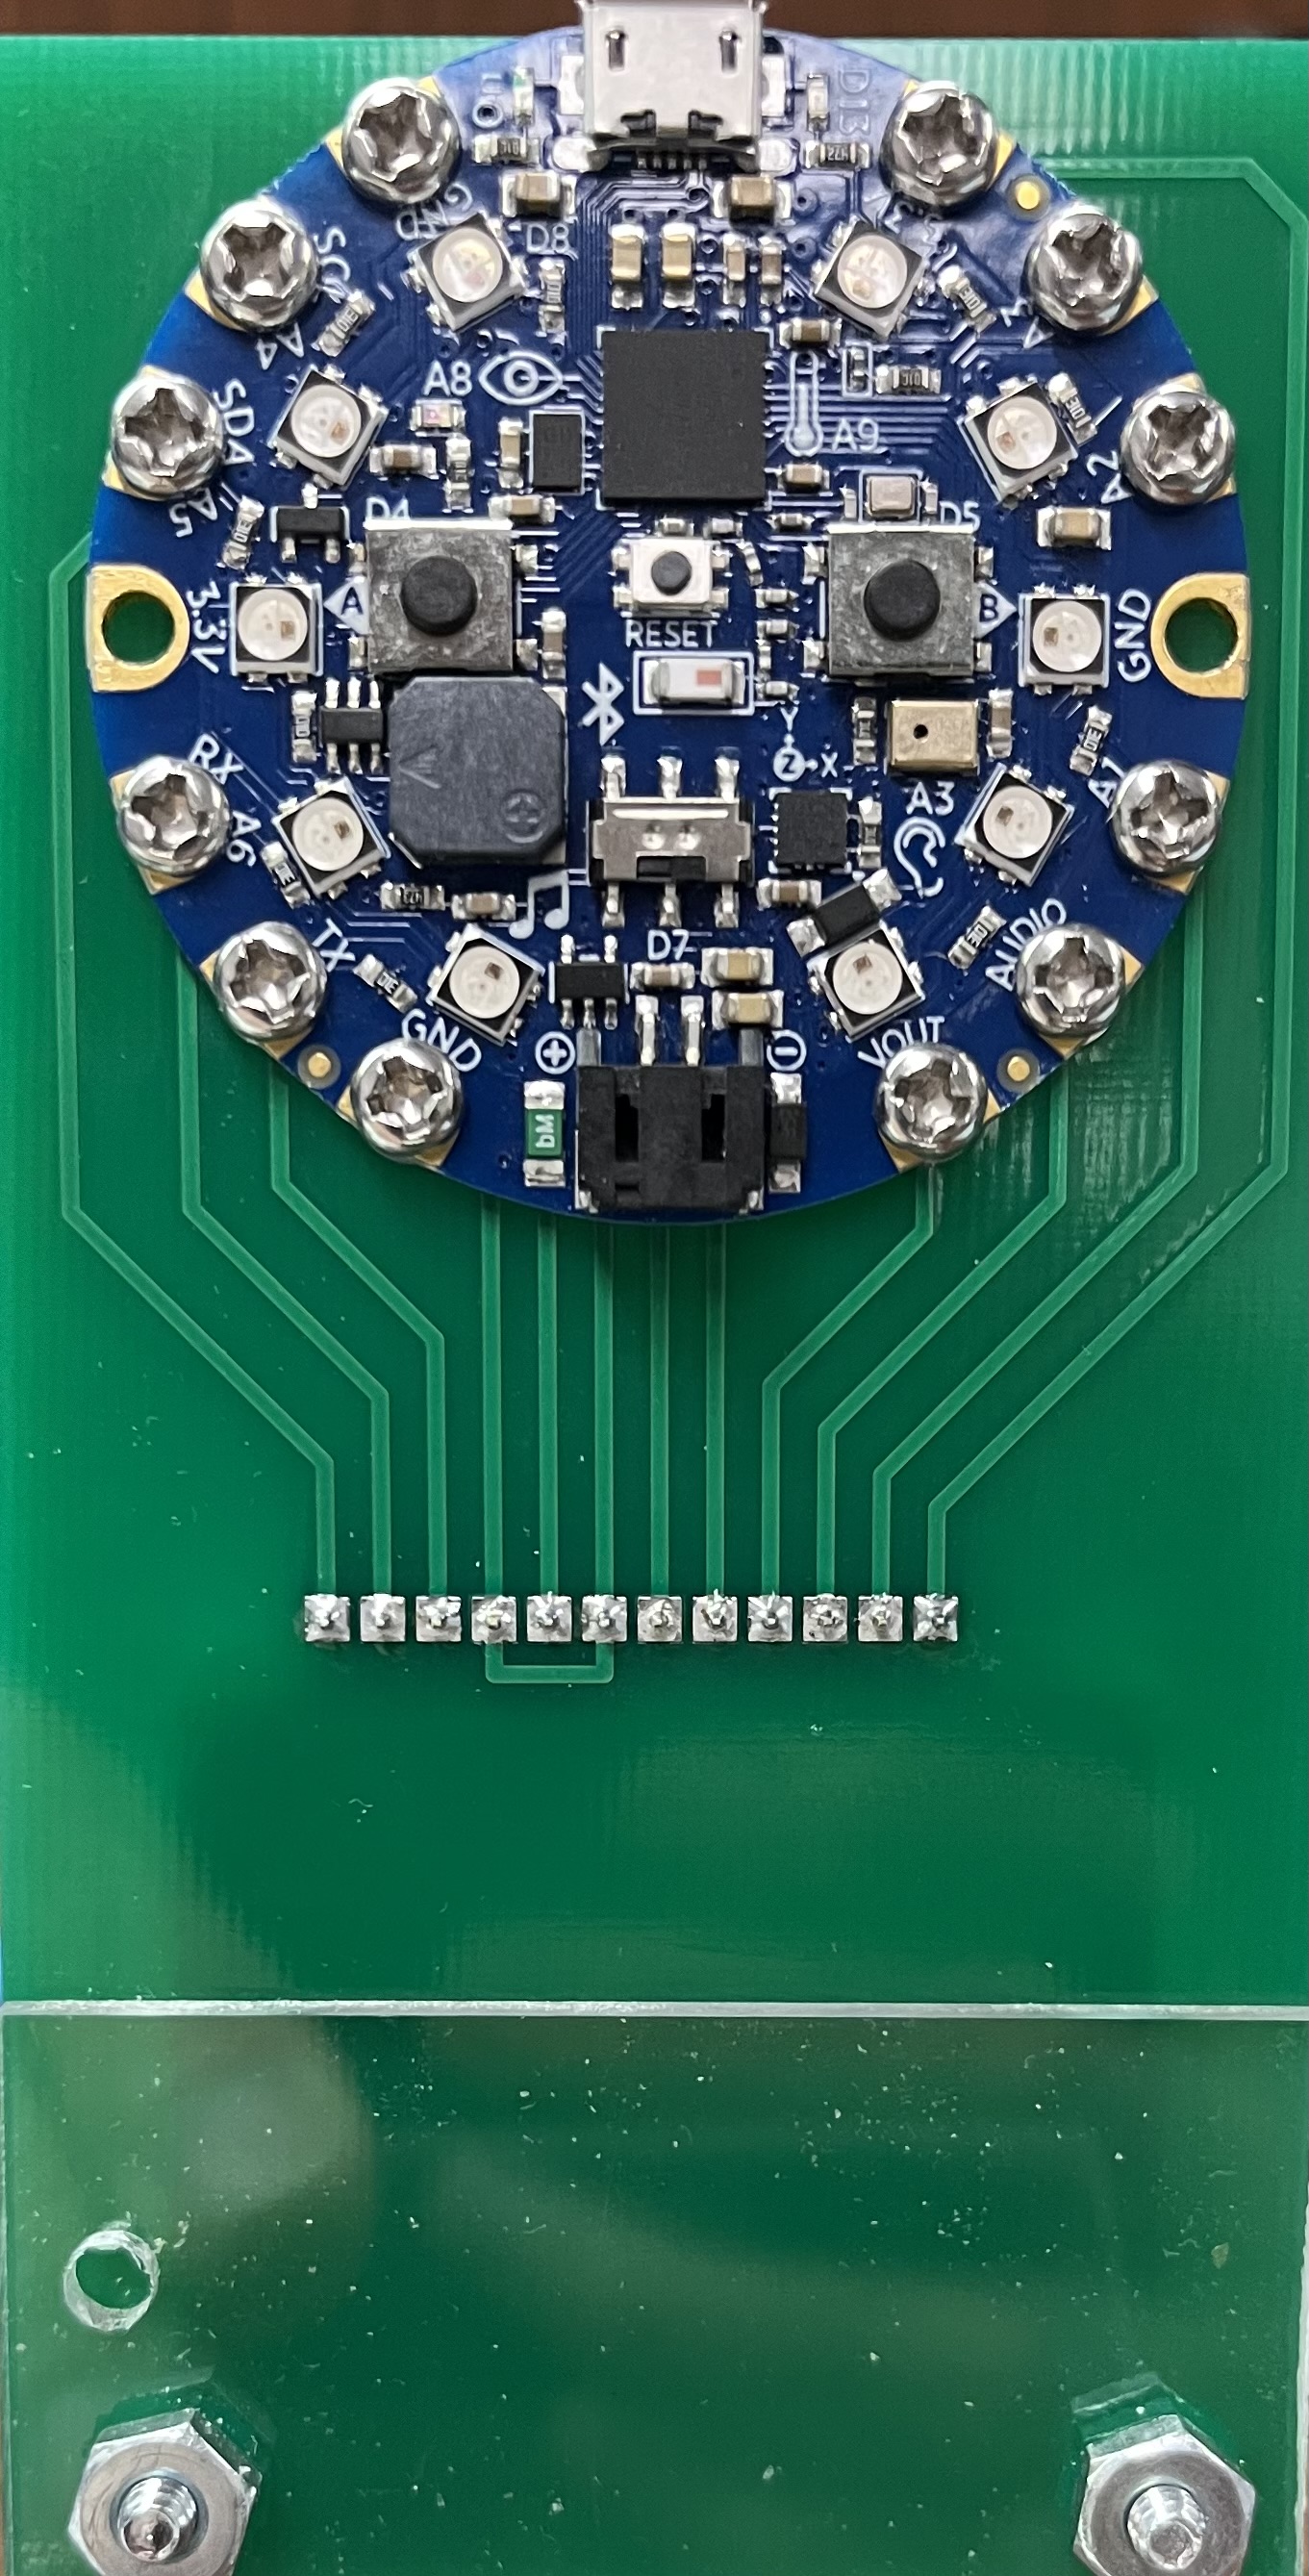
-
Stand
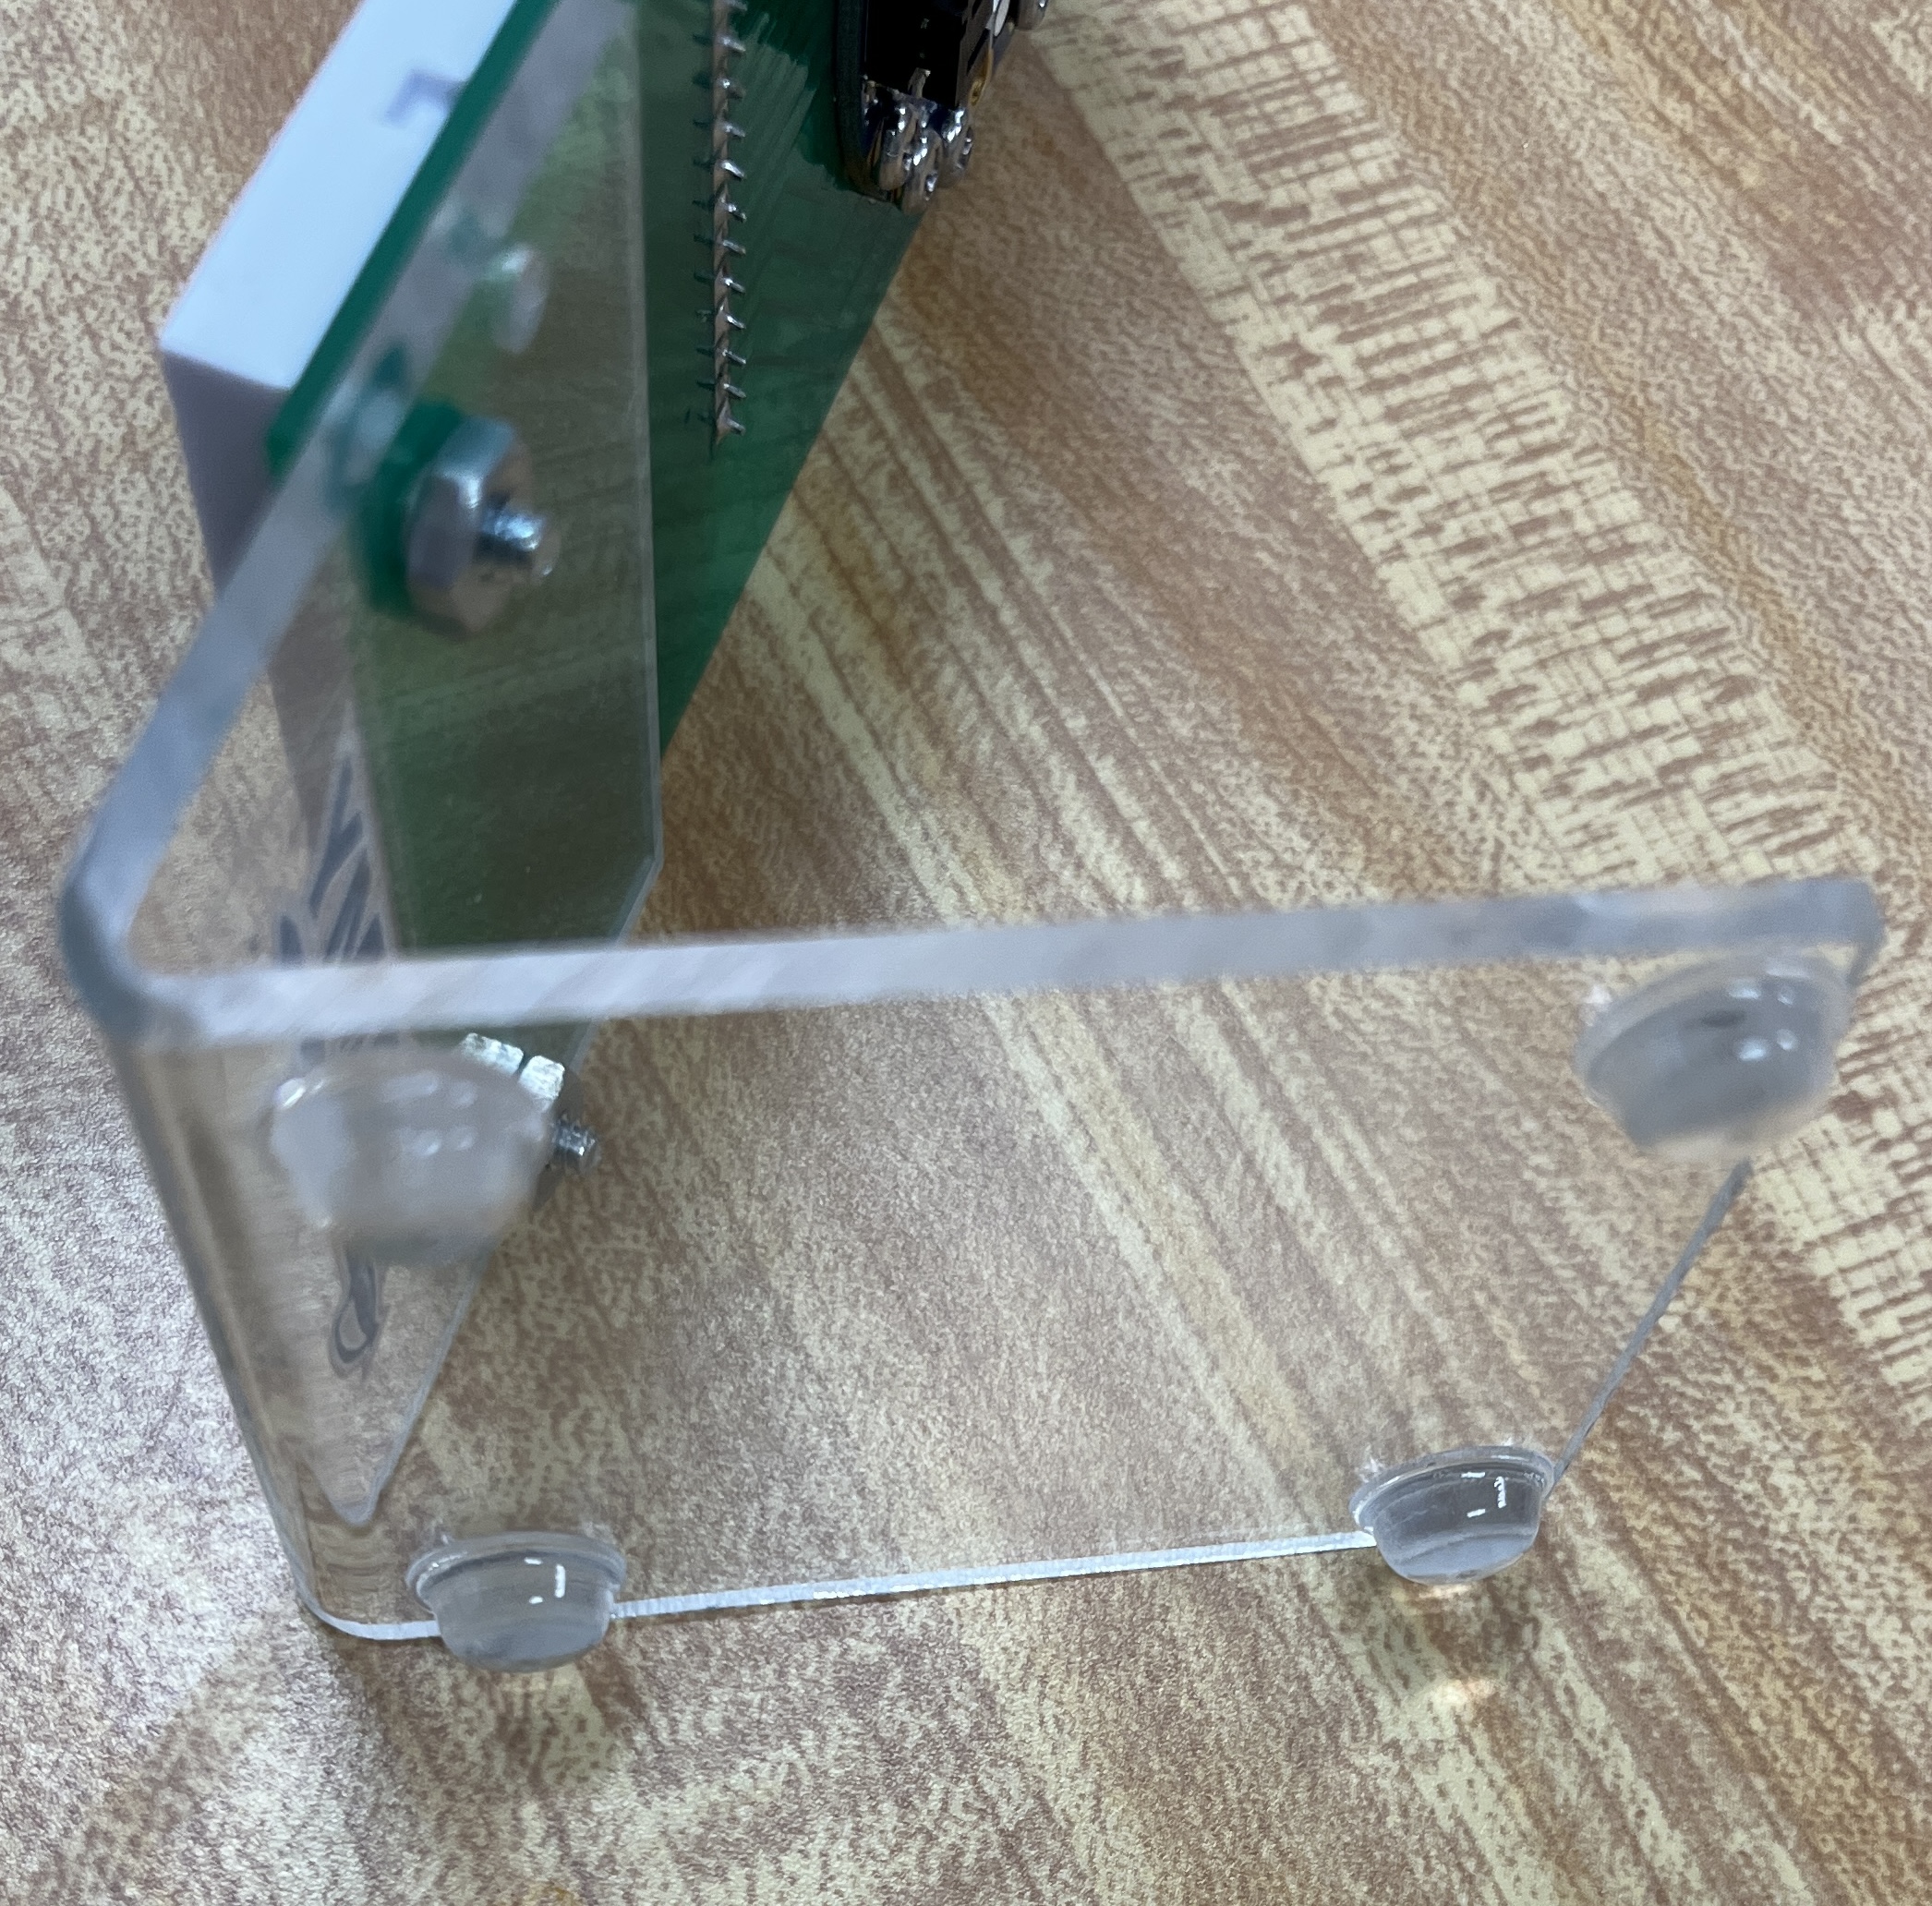
Remove the clear film from both sides of the acrylic stand and then attach it to the circuit board using the remaining screws/nuts. Attach the rubber feet to the bottom of the stand.
Setup your Bluefruit board
-
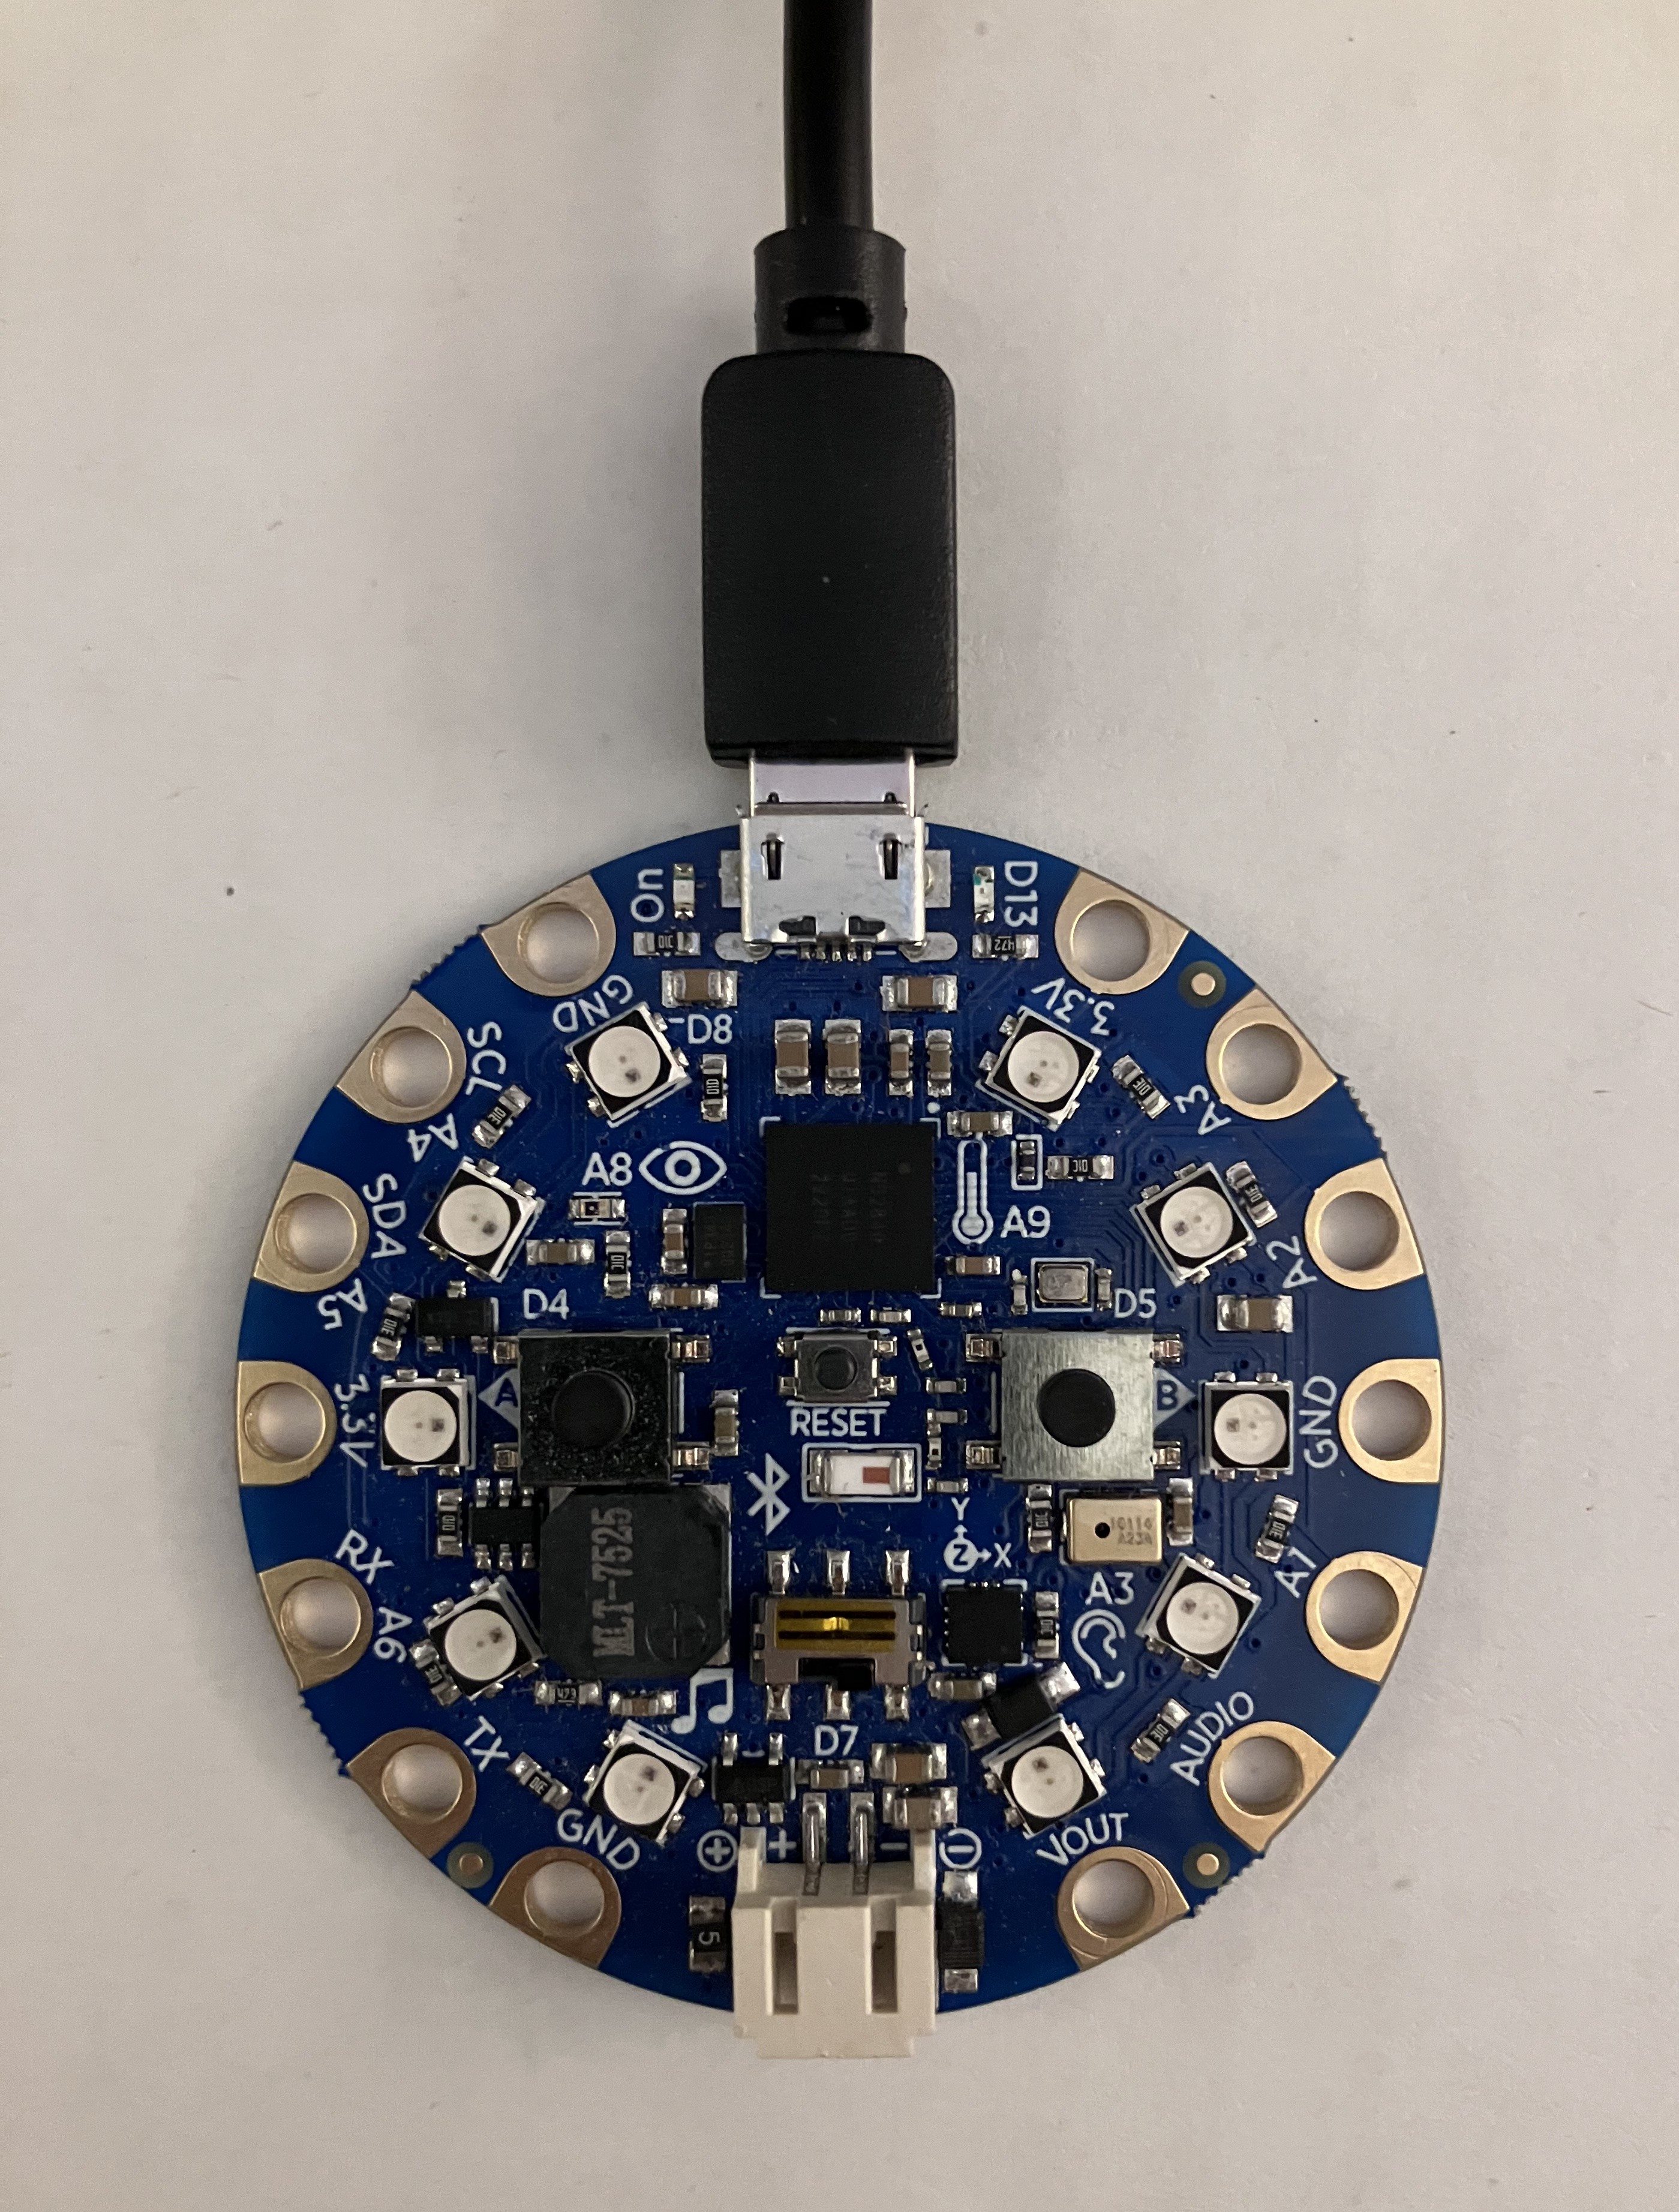
Using the USB cable, plug your Bluefruit board into your computer.
-
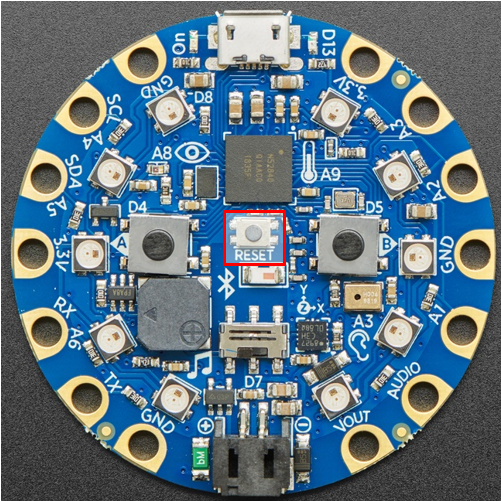
Rapidly push the “reset” button in the middle of your board two times:
-
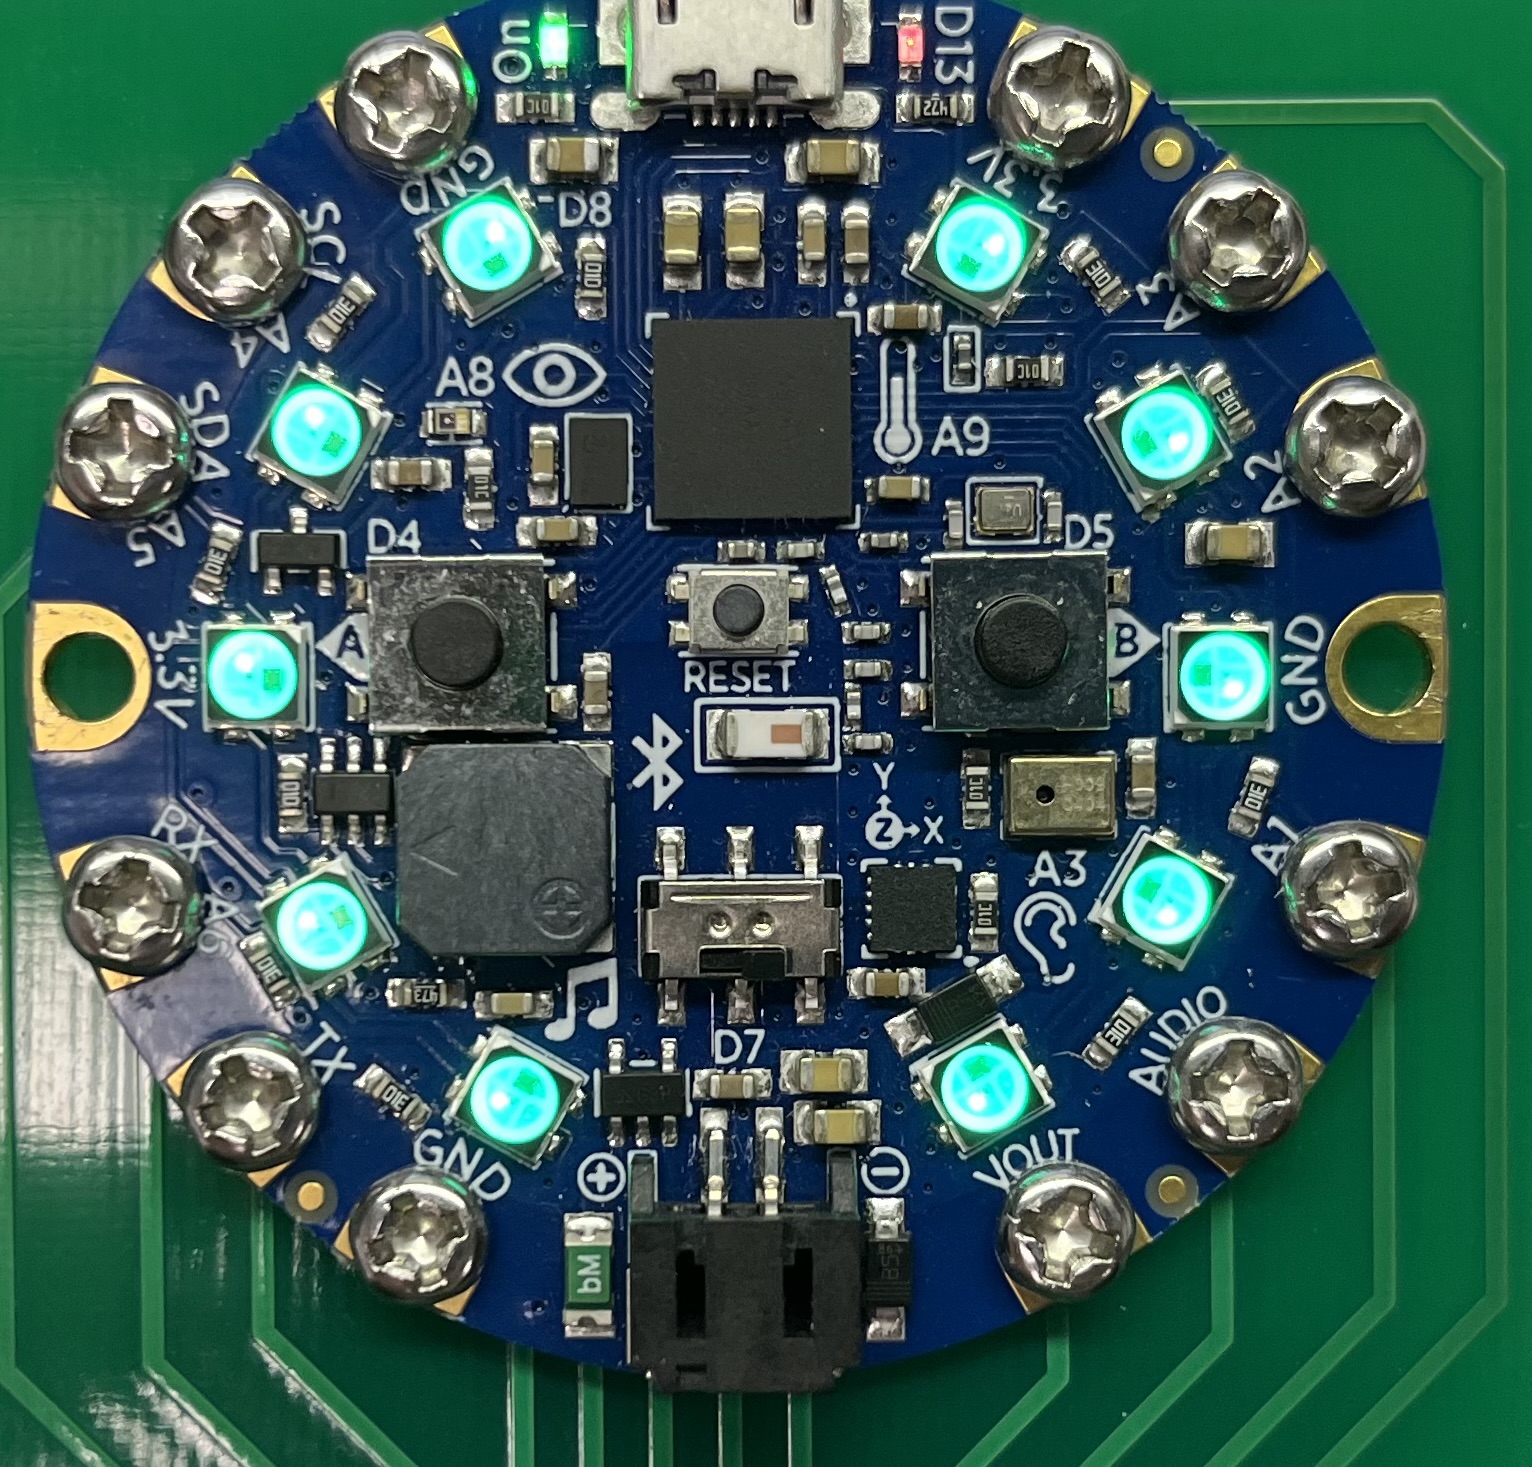
All the LEDs around the outside should turn green and you should have a red and green LED on either side of your USB cable. You should also see CPLAYBOOT show up as a drive in your computer's file explorer. (Don't worry if your drive isn't D:, it could be F: or another letter drive.)
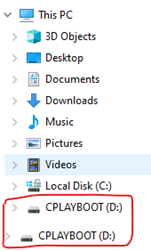
-
Very important!
If your Bluefruit looks like the one on the left (a BLACK connector on the bottom), proceed immediately to Step 5.
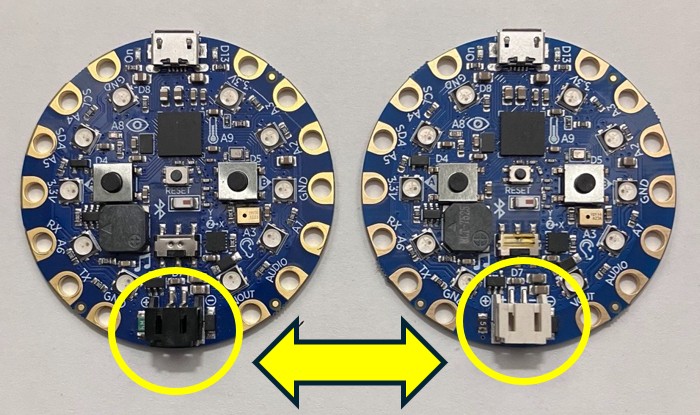
However, ONLY if your Bluefruit looks like the one on the right (a WHITE connector on the bottom), you need to open your CPLAYBTBOOT drive and check the
INFO_UF2.TXTfile.Open the
INFO_UF2.TXTfile. Look for the date.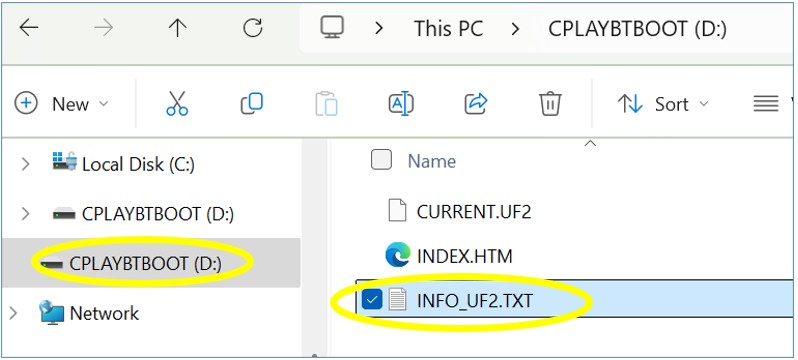
ONLY if the date is not from 2024 (for example, if it's from 2019), you need to follow the additional steps HERE, then return to this point in the instructions. To reiterate, if your
INFO_UF2.TXTfile looks like the one below, proceed to Step 5. Only if the date is earlier than 2024 do you need to follow the additional steps.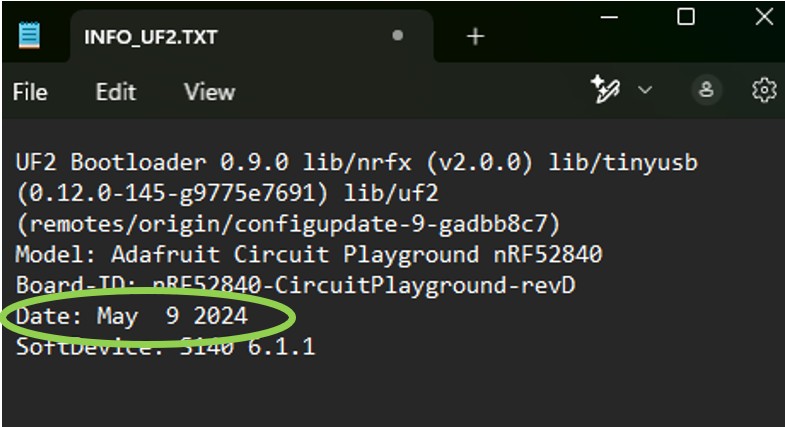
-
- If your Bluefruit has a BLACK connector on the bottom (left image at the beginning of Step 4 above):
Click here (BLACK CONNECTOR files) to download the files you will need. - If your Bluefruit has a WHITE connector on the bottom (right image at the beginning of Step 4 above) AND you have completed the additional setup steps linked above (if needed, meaning your
INFO_UF2.TXTfile now has a date in 2024):
Click here (WHITE CONNECTOR files) to download the files you will need.
- If your Bluefruit has a BLACK connector on the bottom (left image at the beginning of Step 4 above):
-
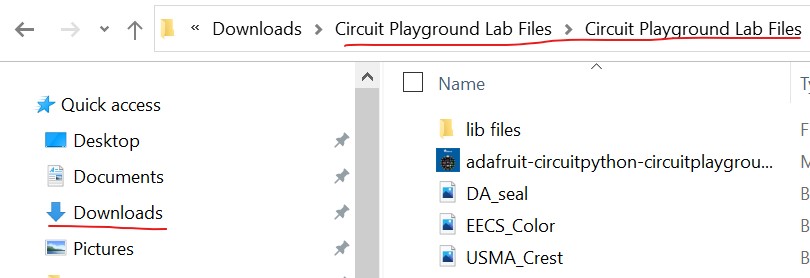
Open your downloaded folder and the “Circuit Playground Lab Files <BLACK or WHITE>” folder inside it. If you see the WinRAR icon, you will likely need to uninstall the program to access the files. See the steps in Troubleshooting.
-
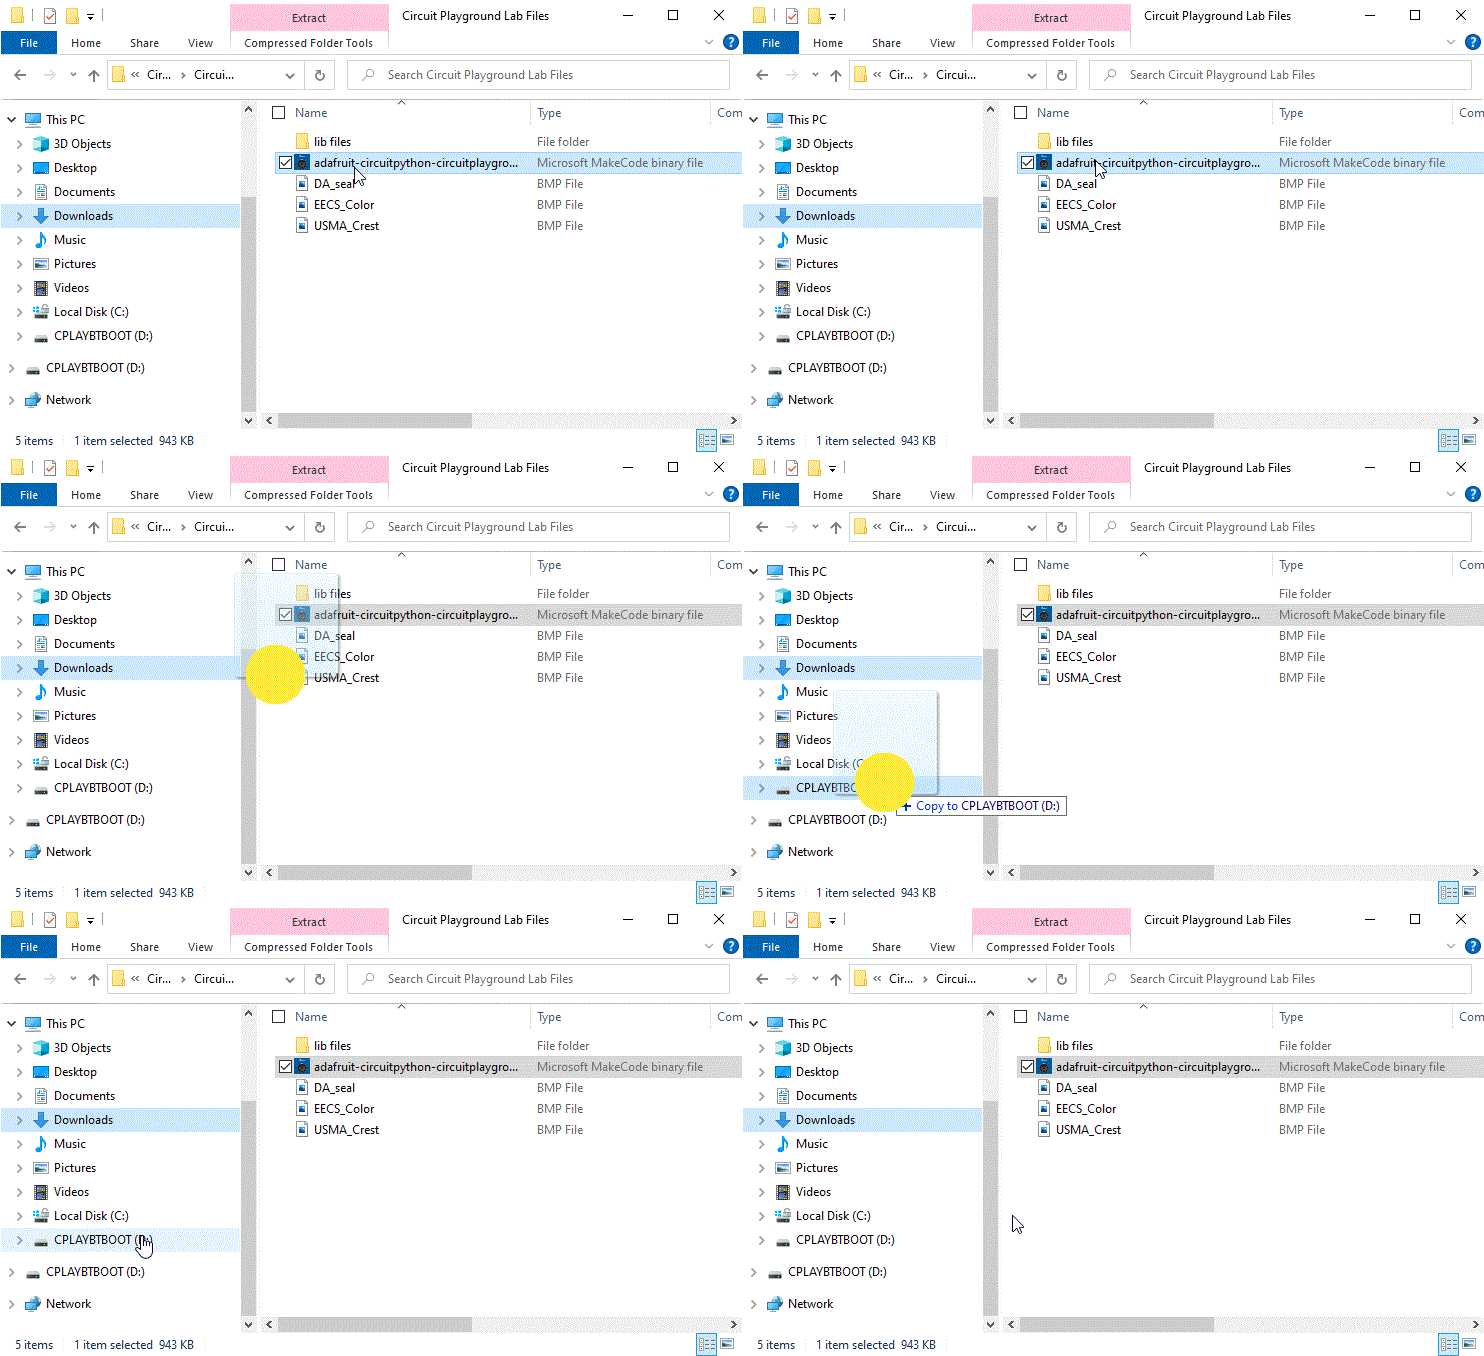
Drag the file named adafruit-circuitpython-circuitplayground_bluefruit-en_US-#.#.# from the Circuit Playground Lab Files folder you just opened onto your CPLAYBTBOOT drive highlighted below.
-
After a few seconds, the outer ring of LEDs should start flashing green and the drive name should change to CIRCUITPY. When you click on that drive, you should see the files and folders below.

-
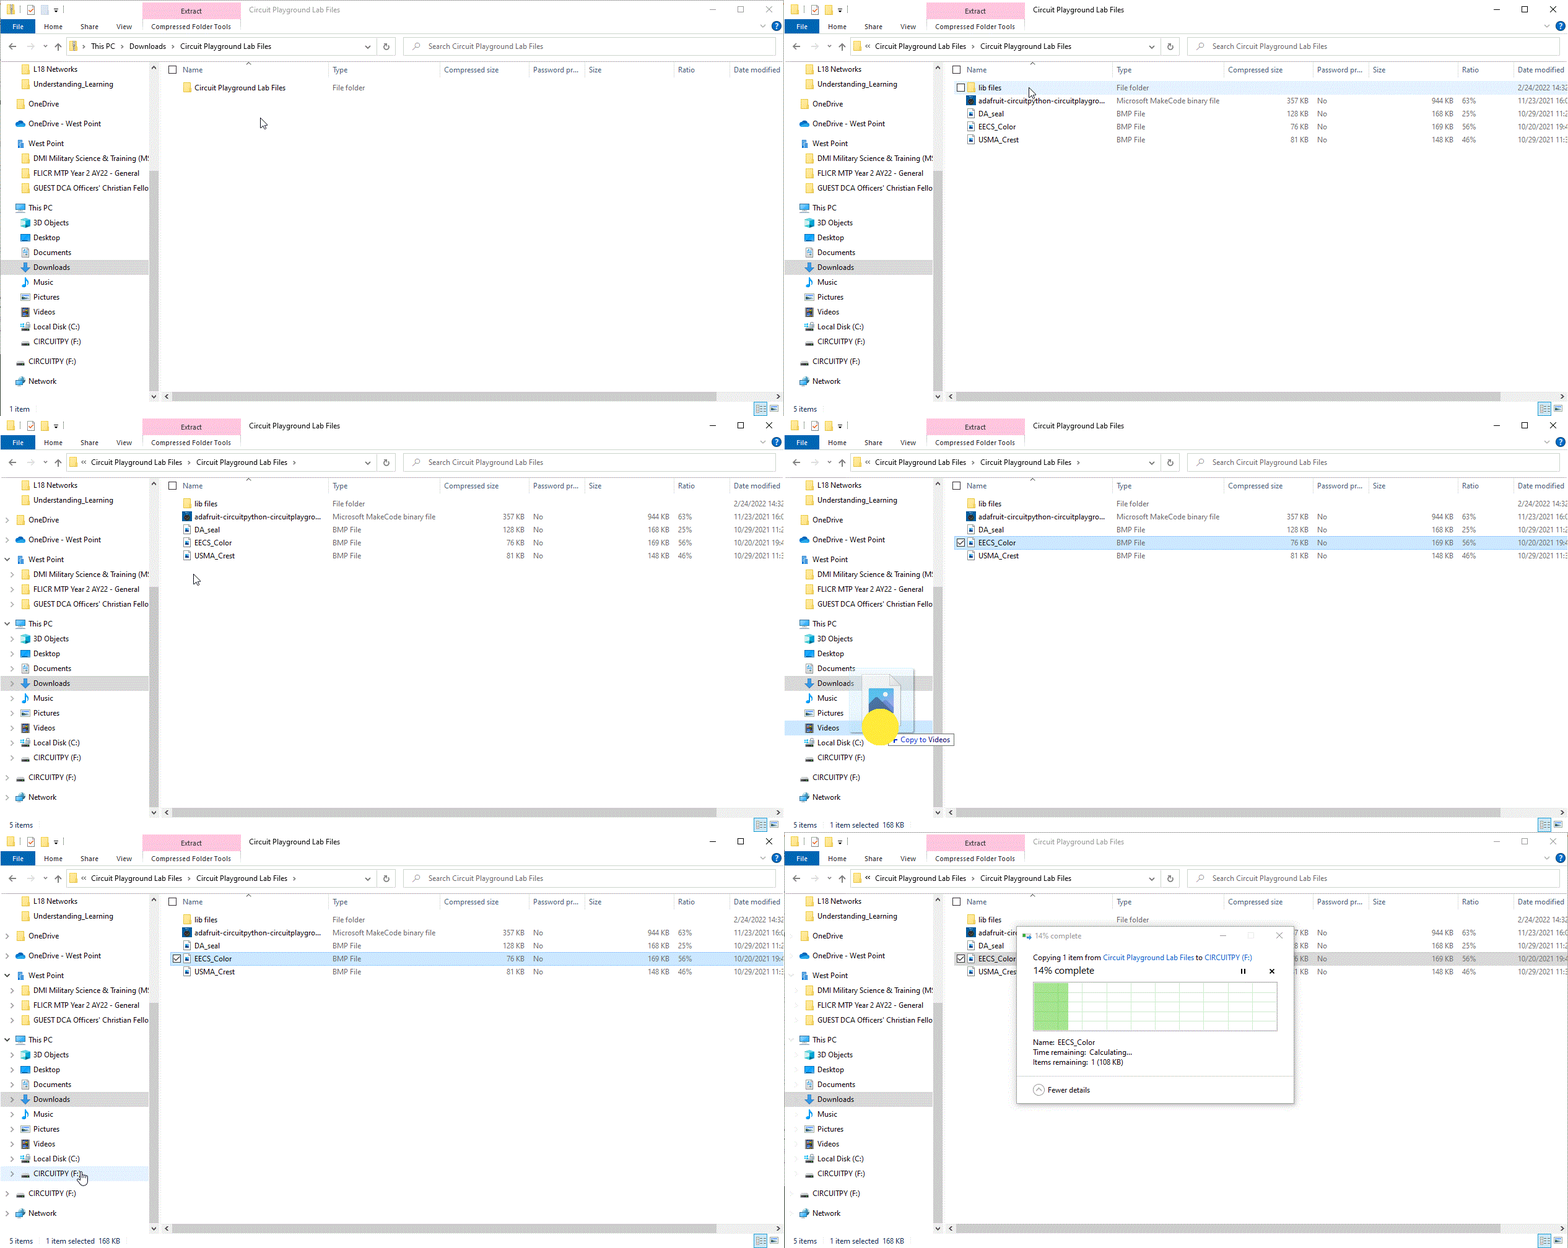
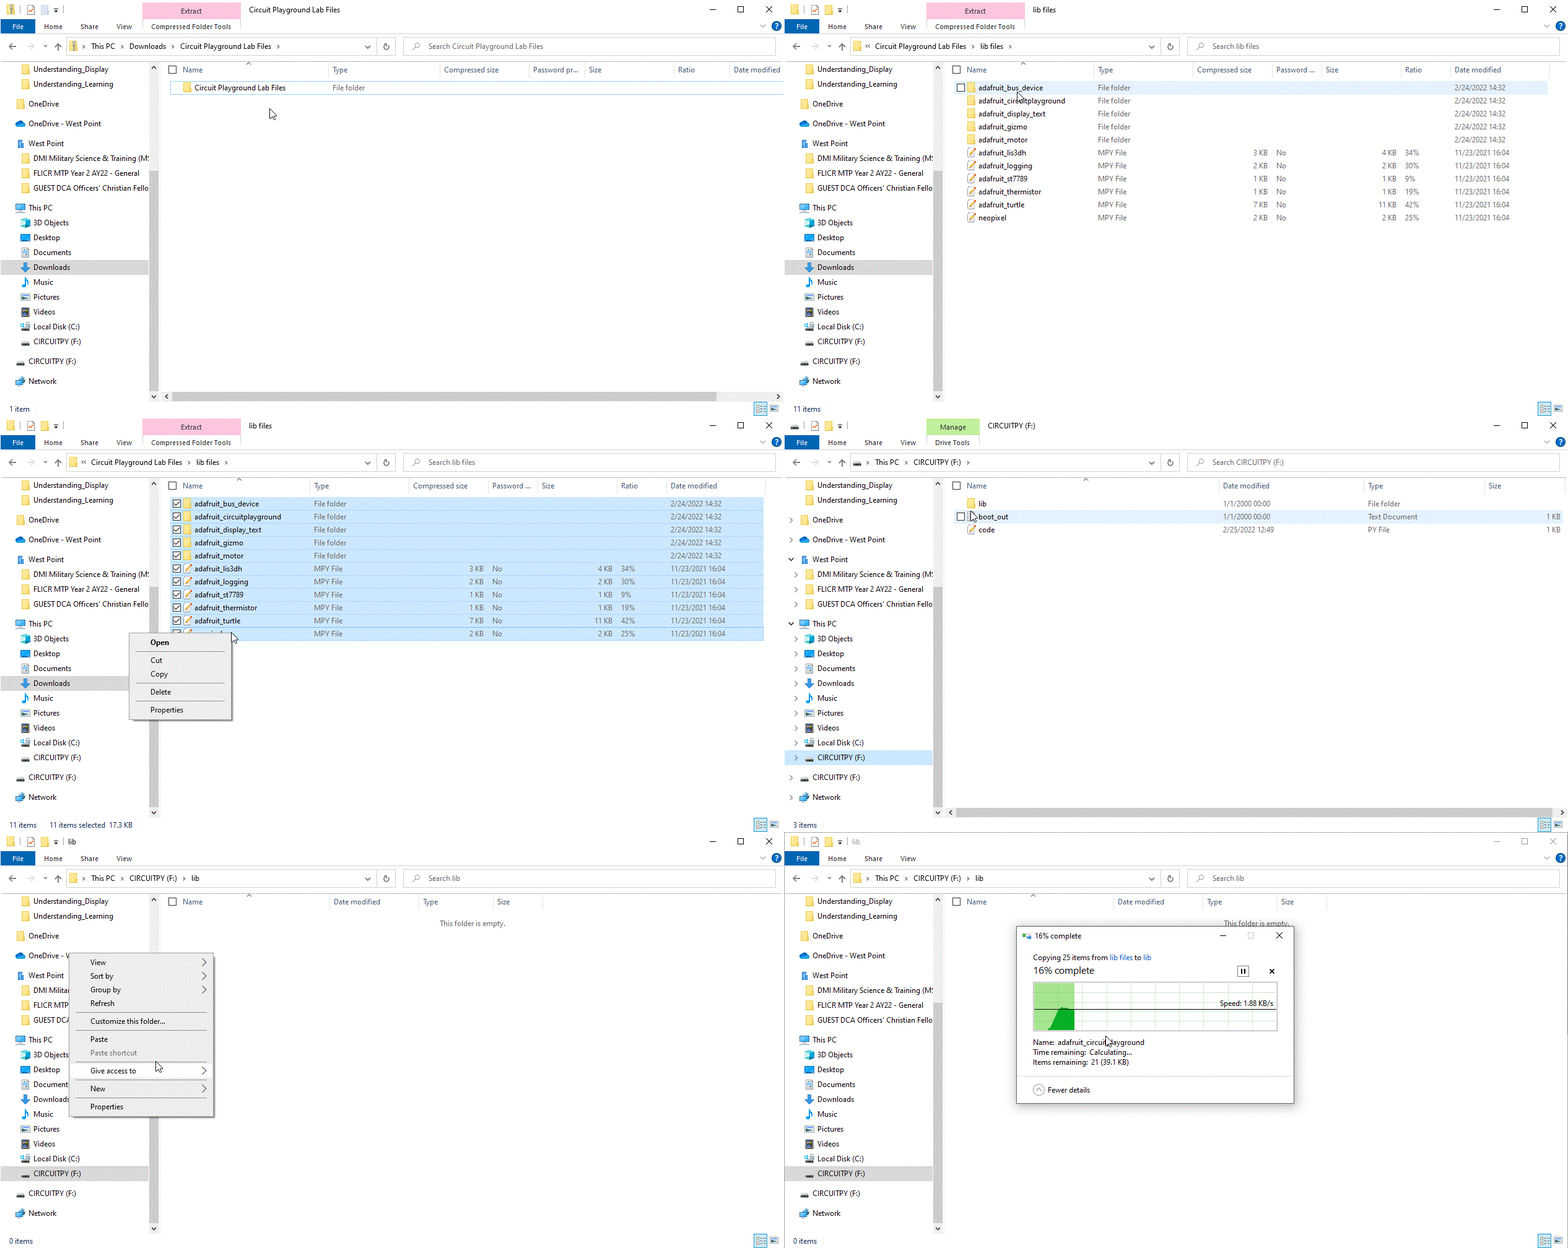
If you closed it, open the "Circuit Playground Lab Files <BLACK or WHITE>" folder you downloaded. Then open the "lib files" folder.
Drag/copy all the documents (shown in the video below) from that folder /into the "lib" folder in your CIRCUITPY drive. Do not copy the “lib files” folder, just the items inside it!
Using Mu
-
to view the Bluefruit's components. Mouse over the board or the list of components to highlight each part. You can view this any time by clicking the "Bluefruit Board" button in the instructions below.
-
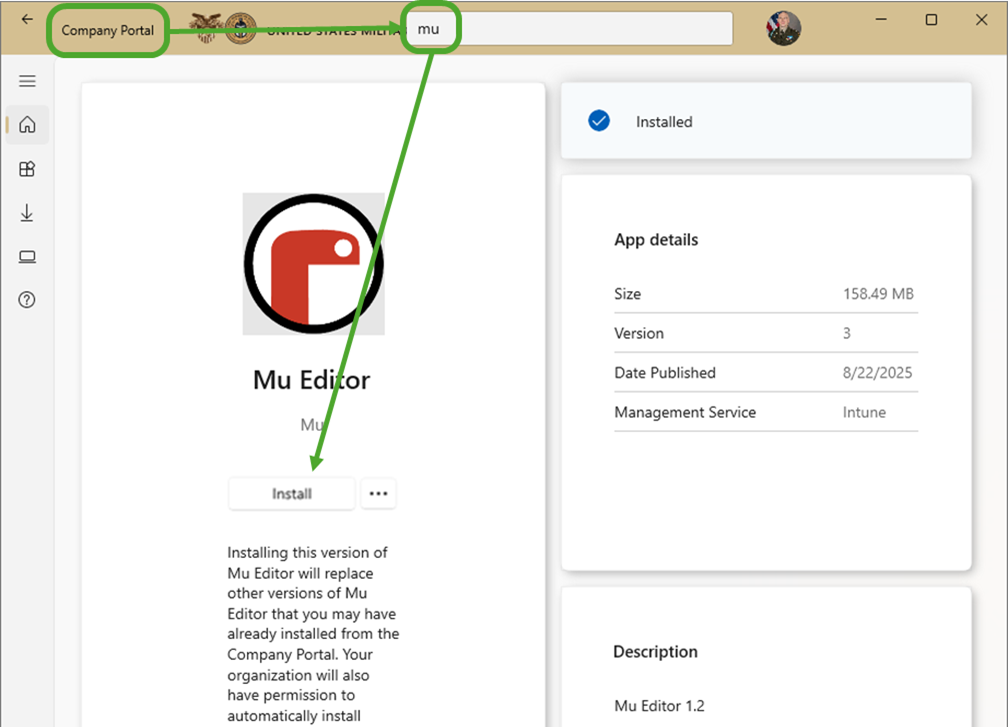
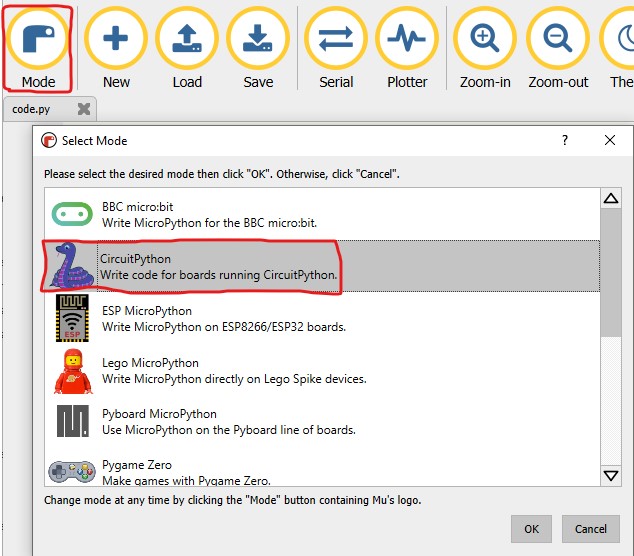
If you haven't done so already, download and install Mu Editor from Company Portal. Select "CircuitPython" for the "mode".
-
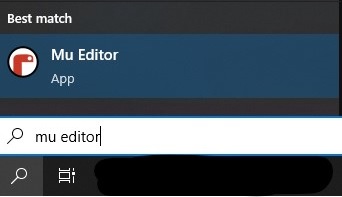
Open the Mu Editor.
-
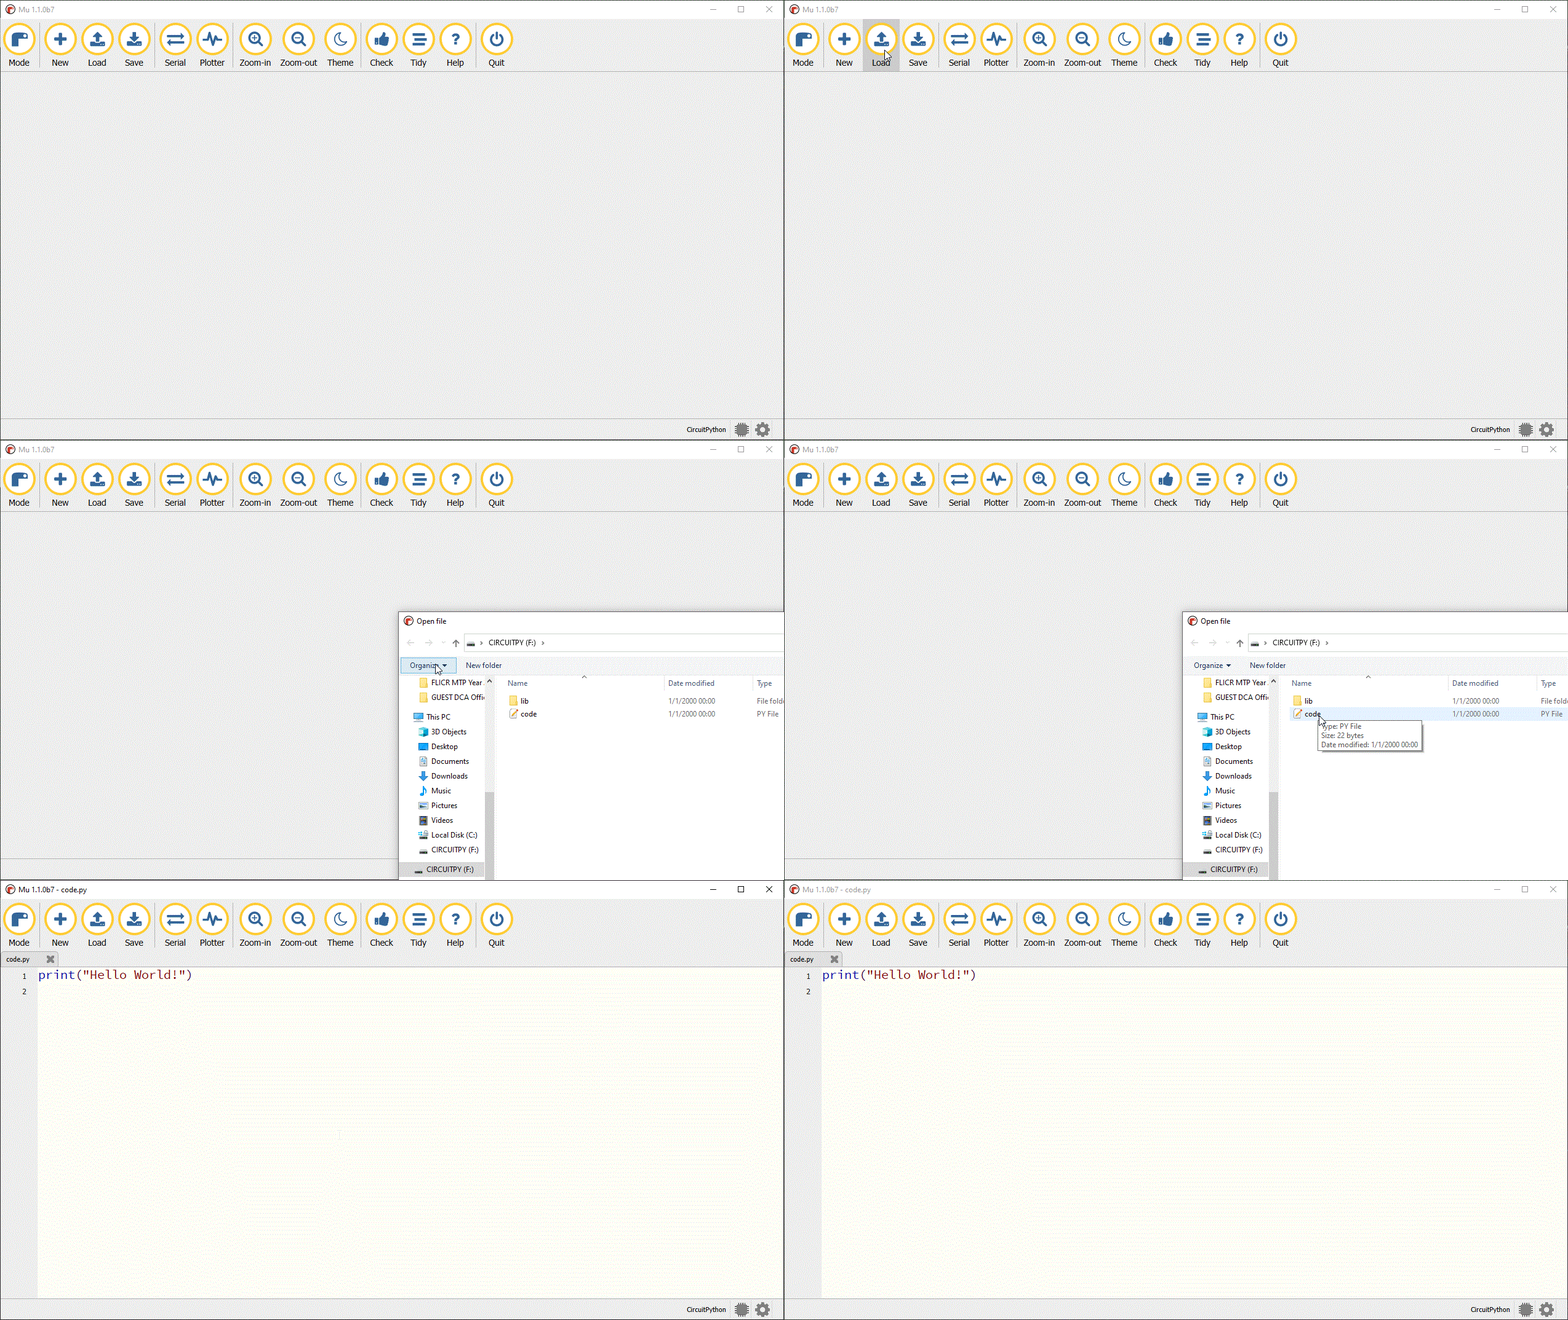
If you don't see a tab in the Mu editor named "code.py", click "Load" and navigate to your CIRCUITPY drive and open the “code” file.
-
In the Mu editor, turn on the Serial display and the Plotter.
Important note: whenever you plug in your Bluefruit and open up Mu, you will need to click "Serial" in order to see the console output (i.e. error messages and anything you are displaying withprint).
-
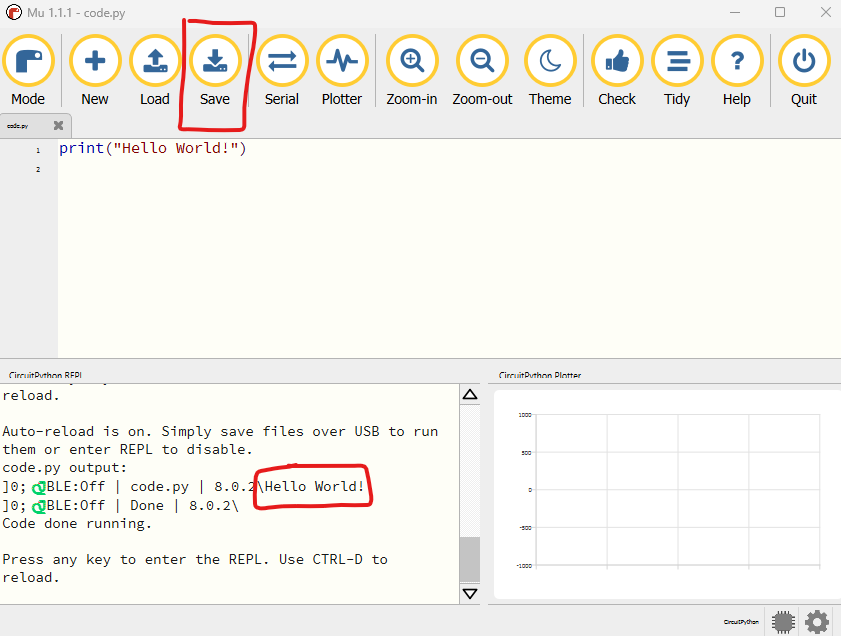
Click "Save" to run the Hello World program (note that there is just a small code snippet and no function). Look for "Hello World!" in the console window (CircuitPython REPL window). See image below.
